
The latest Pristine Cut update for *Slay the Princess* has introduced exciting new routes and endings, elaborating on existing storylines within the game.
There’s no denying that *Slay the Princess* is an exceptional narrative experience that captivates players through its immersive storytelling.
At the outset, players are summoned by the Shifting Mound, a burgeoning eldritch god, to gather Vessels—variations of the Princess, each pivotal in shaping this enigmatic entity. In your journey, you can obtain a maximum of five Vessels in a single playthrough. The game includes a gallery called “Memories”that offers valuable clues on locating these Vessels and their unique moments.
If you’re driven by a desire to explore every narrative path or are on an achievement hunt, be sure to create a clean save before making pivotal decisions. This will allow you to easily revert and investigate alternative storylines.
Warning: This article contains MAJOR SPOILERS regarding every possible path in *Slay the Princess*.
A Being of Perception

Before diving into the specific Vessels, let’s lay down a fundamental rule to navigate your playthroughs effectively. A recurring theme in the game is that the Princess embodies change—her persona morphs based on the player character’s interpretations of her capabilities.
For instance, if you seize the blade before entering the basement, you view her as a potential threat; consequently, she adopts a cold and detached demeanor. Conversely, if you enter the basement unarmed, you will experience a more amicable and innocent interaction. Each time loop results in a striking transformation of the Princess, reflective of your evolving perception.
Every path towards a Vessel reveals a distinct and introspective tale, ensuring that, regardless of your decision to slay the Princess, the journey remains captivating.
The Adversary

The Adversary exemplifies unyielding defiance. This form of the Princess is nearly indestructible, possessing greater strength, speed, and resilience than most others.
To initiate the Adversary route in Chapter 2, you must provoke the Princess into combat by expressing your belief in her danger. The following decisions will guide you:
- Seize the Blade.
- Tighten your grip.
- Select the dialogue option “I’m not dropping the blade.” Stand firm.
- Slay the Princess and complete the task.
This path offers you the choice to engage in a fight, flee cowardly, or adopt pacifism, all while contending with a formidable adversary who won’t hold back.
Depending on your actions, this route may either conclude here or extend further into Chapter 3 through various outcomes:
- A poor performance in battle or fleeing triggers the Eye of the Needle path.
- This can lead to The Fury if you anger her by refusing to fight or die tragically during combat.
The Tower

You will encounter the Tower when you decide against slaying the Princess, instilling in this new form an essence of divinity combined with a superiority complex.
To unlock this path, follow these steps:
- Grab the Blade.
- Confront the Princess, then Drop the Blade regardless of your prior decisions.
- Once you have cycled through the dialogue, Slay the Princess.
- When she retaliates, Give up. She will eliminate you, leading you to the Tower path.
In this transformation, the Princess becomes an authoritative presence, perceiving you as a mere servant to her will.
This variant is notably powerful, capable of overpowering the Narrator, forcing you to comply with her demands.
The Shifting Mound can capture her at this state, or she can evolve further:
- Surrendering to the Tower continues the journey towards the Apotheosis route.
The Spectre

This embodiment of the Princess manifests as a ghost because you erroneously believe she has perished following your actions.
To access this path, execute the following:
- Enter the Cabin, grabbing the Blade, and then proceed to Enter the Basement.
- Confront the Princess, selecting [Steel your nerves and step forward], then [Slay the Princess] without any unnecessary chatter.
- Refrain from retrieving the blade or examining the Princess. Simply exit the basement.
The Spectre’s journey unfolds when you precisely follow the game’s guidance—slaying the Princess. However, the Narrator offers you eternal emptiness, leading to your demise, plunging you into darkness.
On your return to the cabin in Chapter 2, you will discover the Princess has indeed succumbed, leaving the blade untouched. You’ll then encounter her ghost lingering by her corpse, presenting you with choices on how to proceed. You can either allow her to possess you or provoke her, potentially branching into various uncanny paths.
You can hand over the Spectre to the Shifting Mound by leaving the Cabin with her. Alternatively, you can progress the Princess’s evolution in Chapter 3 through the following choices:
- Dying while possessed by the Spectre triggers The Princess and the Dragon route.
- Being killed by the Spectre initiates The Wraith route.
The Nightmare

Should you leave the task of slaying the Princess incomplete, she transforms into a vengeful, nightmarish entity whose very presence evokes sheer terror.
There are several instances where you can abandon the Princess in the basement, each with slightly differing dialogue. Ensure you complete the following:
- Descend into the basement whether you possess the blade or not.
- Exhaust all dialogue options with her. If holding the Pristine Blade, ensure to drop it before initiating conversations.
- After all dialogue is concluded, select “Okay, we’ve talked enough.”
- Then commit to leaving her trapped.
- Essentially lock your decision by opting for “No, we’re sticking to the plan…”
- This triggers the Nightmare route, allowing you to choose any following option.
Fortunately, with the Voice of the Paranoid by your side, you manage to stay alive with their helpful grounding mantra.
However, if you delve deeper into the Nightmare’s storyline, you’ll unveil the tragic truth of the Princess—a lonely being who lashes out from her fear of abandonment.
- If you attempt to kill the Nightmare, you will invoke the Wraith path.
The Razor

The unpredictability of the Princess lies in her capacity to adapt to your thoughts. If you defeat her but second-guess your deed, she will stab you, leading to a mutual demise.
While multiple approaches can lead you to the Razor, here’s a highly reliable route in Chapter 1:
- Take the Blade.
- Confront the Princess and slay her.
- Once she falls, express your uncertainty by choosing either “I’m not sure…” or “Of course not…”
- Select [Remove the blade] or [Check for a pulse].
- The Princess will stab you, leading to your combined death and transitioning to Chapter 2.
The Razor exudes sadistic pleasure, reveling in multiple iterations of your demise until she has sated her macabre curiosity.
Among the fragments of Chapter 2, the Razor uniquely guides you to a singular path, ultimately leading to an exclusive Chapter 4.
The Beast

The Beast is forged when you engage the Princess in combat but relent midway. This leads her to adopt the instincts of a cornered creature influenced by your changing perspective. Follow these steps to encounter the Beast:
- Enter the basement without the blade.
- Confront the Princess and examine the chains.
- Exhaust all dialogue options until the Princess resorts to gnawing her arm off.
- The Blade will drop; pick it up.
- Slay the Princess.
- Mid-battle, when prompted, give up.
- The screen darkens, marking your demise.
The Beast embodies primal instincts, driven solely by the urge to consume you. Though capable of speech, reasoning is beyond her reach as she relentlessly seeks to devour you.
Your second encounter in Chapter 2 presents the Beast as a predator, evoking primal fears innate to humankind.
The Beast can morph into one of two variants:
- Fighting the Beast and succumbing leads to The Den (remember to bring the blade for this option).
- Submitting to the Beast and being consumed results in The Wild.
The Witch

Your decision to free the Princess ironically leads to her betrayal, prompting her transformation into the Witch, who embodies a cunning and skeptical feline form. Here’s how to navigate to the Witch:
- Enter the basement without the blade. Choose freely during your descent.
- Examine the chains upon encountering the Princess. Engage in dialogue until exhaustion.
- Slay the Princess.
- Ensure the act is completed.
In Chapter 2, the Witch emerges as a sly opportunist, resentful of your betrayal. Whether you choose to make amends or continue your violent path, her character remains as unpredictable as a cat.
The Witch can lead you towards further paths:
- Should you betray or be betrayed while exiting the basement together, the Shifting Mound may claim her.
- Opting for redemption by offering her the blade triggers the Thorn path.
- Choosing abandonment leads to her unleashing the cabin’s roots to crush both of you, opening the Wild path.
The Stranger

If you engage in the storyline minimally, your actions will result in the destruction of the world, creating bizarre geometries that spiral into endless possibilities. This rejection culminates in the Princess becoming the Stranger.
To achieve this path, ensure to:
- Do not consent to entering the cabin at the onset of Chapter 1.
- Continue to avoid the cabin until you encounter an infinite expanse of cabins, culminating in Chapter 2: The Stranger.
The Stranger’s journey is unsettling and uncanny, with a relatively straightforward experience since you only need to complete this path once to acquire all relevant achievements before the Shifting Mound claims her.
The Prisoner

Meeting the Prisoner introduces a composed and pragmatic version of the Princess that evolved from her necessity to kill you for her survival. This variant is accepting of circumstances, devoid of hostility but willing to take necessary measures for survival. To unlock this path:
- Take the Blade.
- During your confrontation, drop the blade and engage her.
- Explore various dialogue until you can examine the chains. Attempt to save the Princess.
- As the narrator compels you to slay the Princess, find the options to “Warn her”and “Resist.” This awareness will prompt her to end your misery, pushing you into Chapter 2: The Prisoner.
In this phase, the Princess adopts a more cynical and blunt persona while still harboring a hidden comedic side beneath her cold veneer.
- Should you allow her to decapitate herself, carrying her head exits the cabin allows the Shifting Mound to claim her.
- If left behind and you exhaust dialogue options, this progresses to Chapter 3: The Cage.
- Attempting harm or overstepping boundaries leads her to transform into The Drowned Grey.
The Damsel

Embodying a classic trope, the Damsel features as a dainty variant of the Princess, characterized by sweetness, helplessness, and an overly optimistic disposition. Gaining access to the Damsel can be achieved by retracing the steps followed for the Prisoner, with the only modification being to enter the basement without taking the blade.
This version of the Princess is excessively delighted by your presence, affectionately dubbing you her “dashing hero.”As a people-pleaser, she’ll go to great lengths to ensure your happiness.
- If you fulfill the task of slaying the Princess, she will die content, unlocking The Burned Grey.
- If you choose to express your emotions with the Damsel and opt to remain in her company permanently, you’ll experience one of the most well-crafted paths: Epilogue: Happily Ever After.
The Eye of the Needle

Similar to a Pokémon’s final evolution, this variant of the Princess emerges as a much more formidable iteration of the Adversary, exhibiting pronounced demonic or draconic traits.
Her desire for perpetual combat intensifies as she hunts for you to engage in battle. To trigger this stage, you must either falter in combat or flee.
- In Chapter 2, take the blade.
- Instead of confronting her, turn around and leave.
- She will pursue you, resulting in her capturing and killing you.
This powerful demon craves combat, relentlessly chasing you down for a fierce confrontation until the Shifting Mound claims her.
The Fury

The Fury is a transformation emanating from either the Adversary or the Tower, showcasing the most gruesome storyline filled with body horror and the Ship of Theseus paradox’s existential themes.
- From the Tower path, consistently select options that oppose the Princess and inflict damage upon her, compelling her to retaliate.
- From the Adversary path, engage her unarmed and let the Voice of the Stubborn influence your tenacity, repeatedly facing death until she eliminates you definitively.
Regardless of how you play it, the Fury will dismantle you into gory remnants, embodying her intense desire for destruction and your suffering.
The Apotheosis

Though the Tower presents immense power, she is merely a fledgling deity. Once she commands you to end your life in service of her, her ascension to true godhood occurs.
To assist the Princess in achieving her divine potential, follow these instructions:
- Prior to confronting the Tower, ensure you take the blade.
- Initially contest the Tower by asserting, “I’m not going to help you…”
- Subsequently choose [Slay yourself].
This path strongly resembles classic JRPG narratives characterized by slaying a god. How could something as meek as you ever challenge a divine entity?
The Princess and the Dragon

Have you ever pondered the experience of the Princess? To her, you symbolize a frightening bird-man bent on eliminating her. What if you interpreted events from her viewpoint?
- Follow the objectives to reach The Spectre.
- Before descending into the basement, take the blade.
- Allow the Spectre to possess you when conversing with her.
- While possessing the Princess, slay her.
This chapter even includes a delightful fourth-wall break as both you and the Princess acknowledge the title cards that display between chapters.
Experiencing the world through her perception reveals the turmoil of being simultaneously dead and alive, ultimately culminating in an encounter with the player character’s true essence.
The Wraith
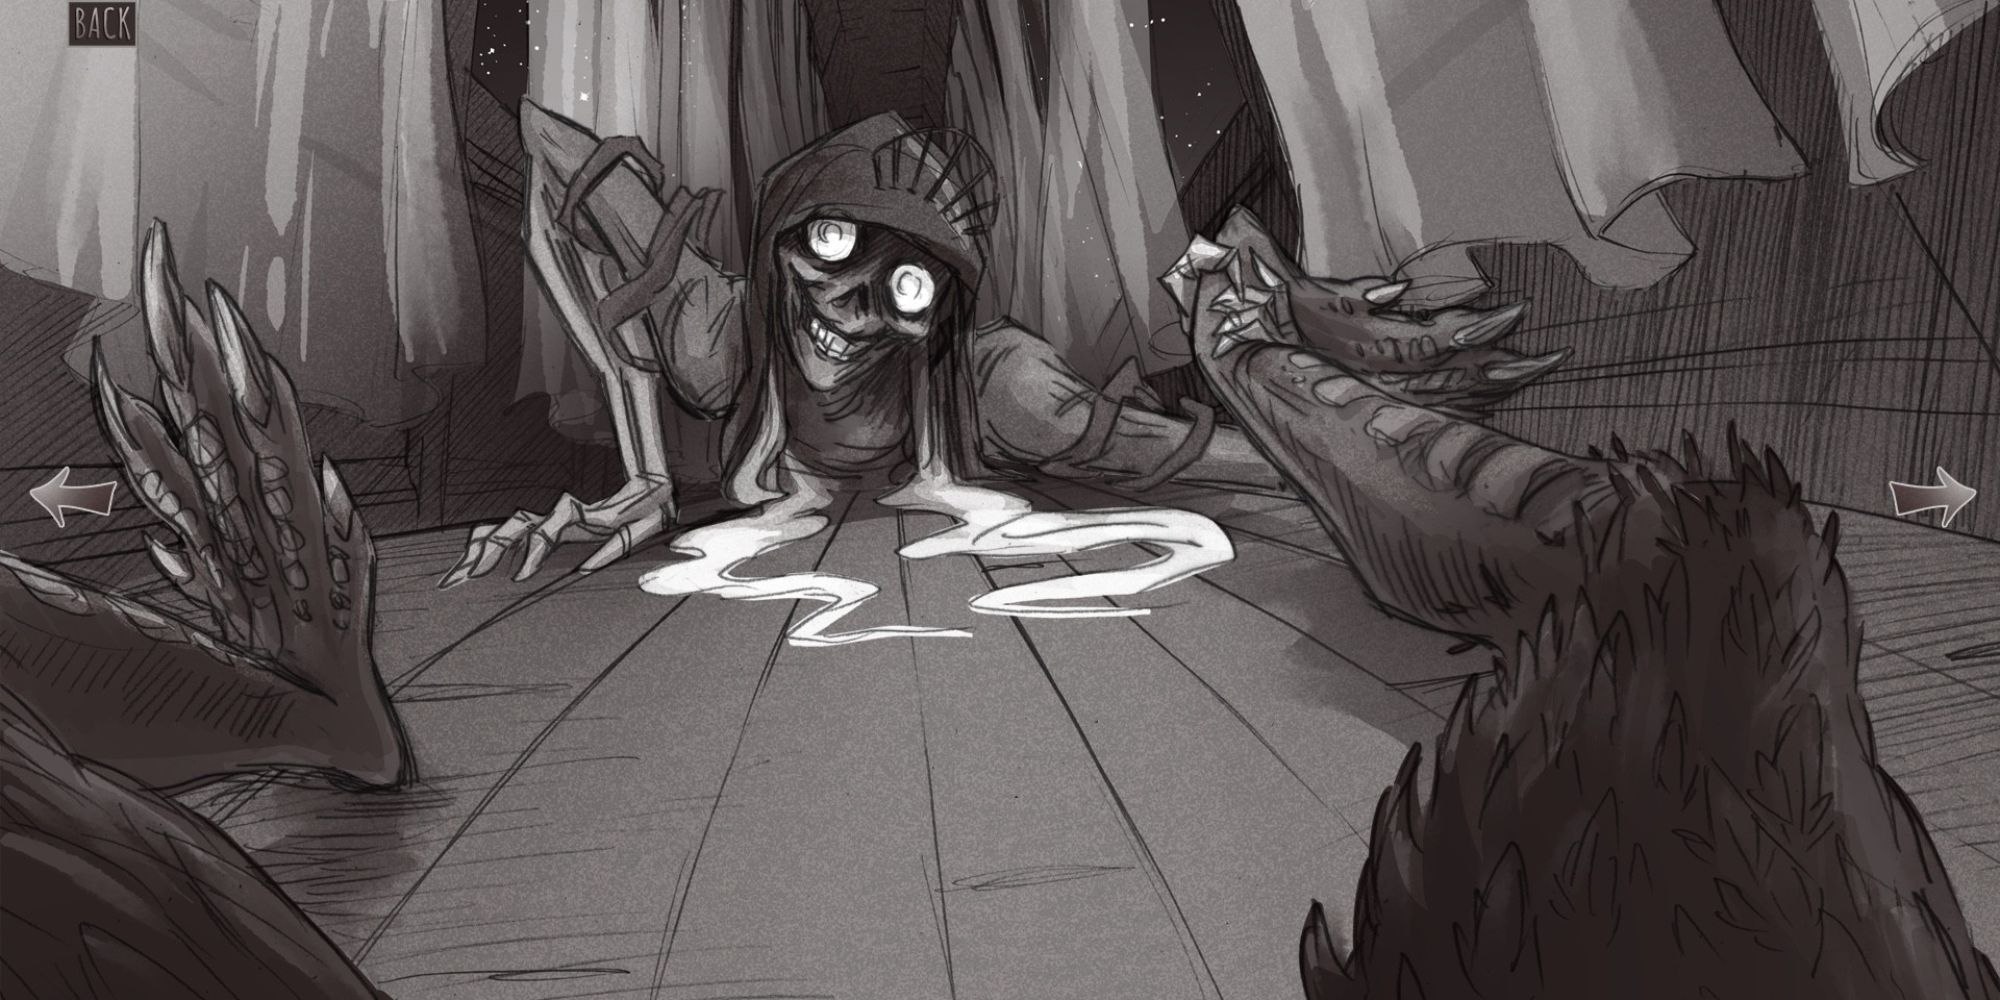
Should you provoke the Spectre, it will lead her to kill you, thus commencing the next chapter.
- Execute the steps to reach The Spectre.
- Seize the blade before confronting the Princess’s ghost.
- Attempt to slay the Princess.
- When unsuccessful, attempt to slay her with greater intensity, leading to your demise.
The Moment of Clarity
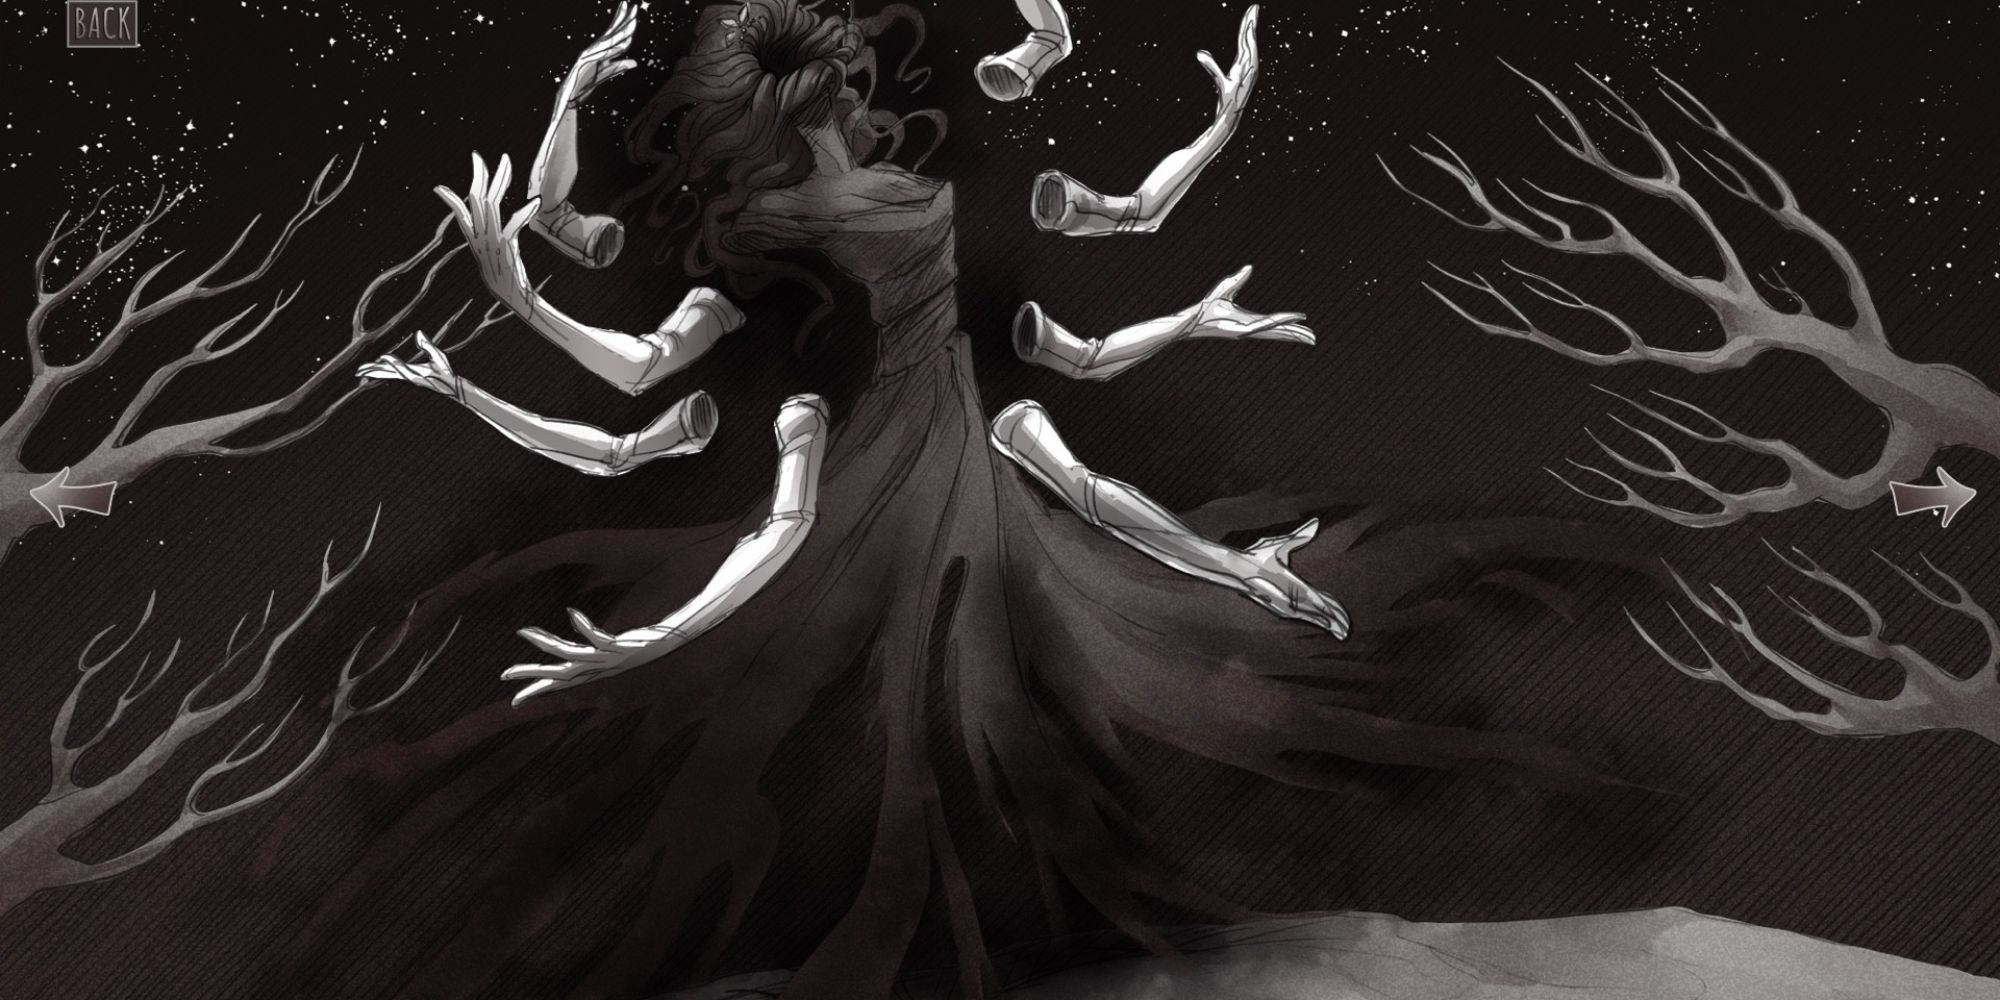
Accessible solely through the *Nightmare* variant of the Princess, this route unravels when you confront her in Chapter 2 and refuse to liberate her. She will force the player character, alongside all voices, including the Narrator, to visually confront her suffering throughout the recurrent cycles.
As Chapter 3 evolves, it spirals into an infinite loop hall of subsequent chapters. Countless cycles blur your memory, leading you into the Moment of Clarity, joined by voices retaining memories apart from your own.
Her formidable will proves so overpowering that even the Voice of the Hero—typically optimistic—yields to a broken disposition.
The Den
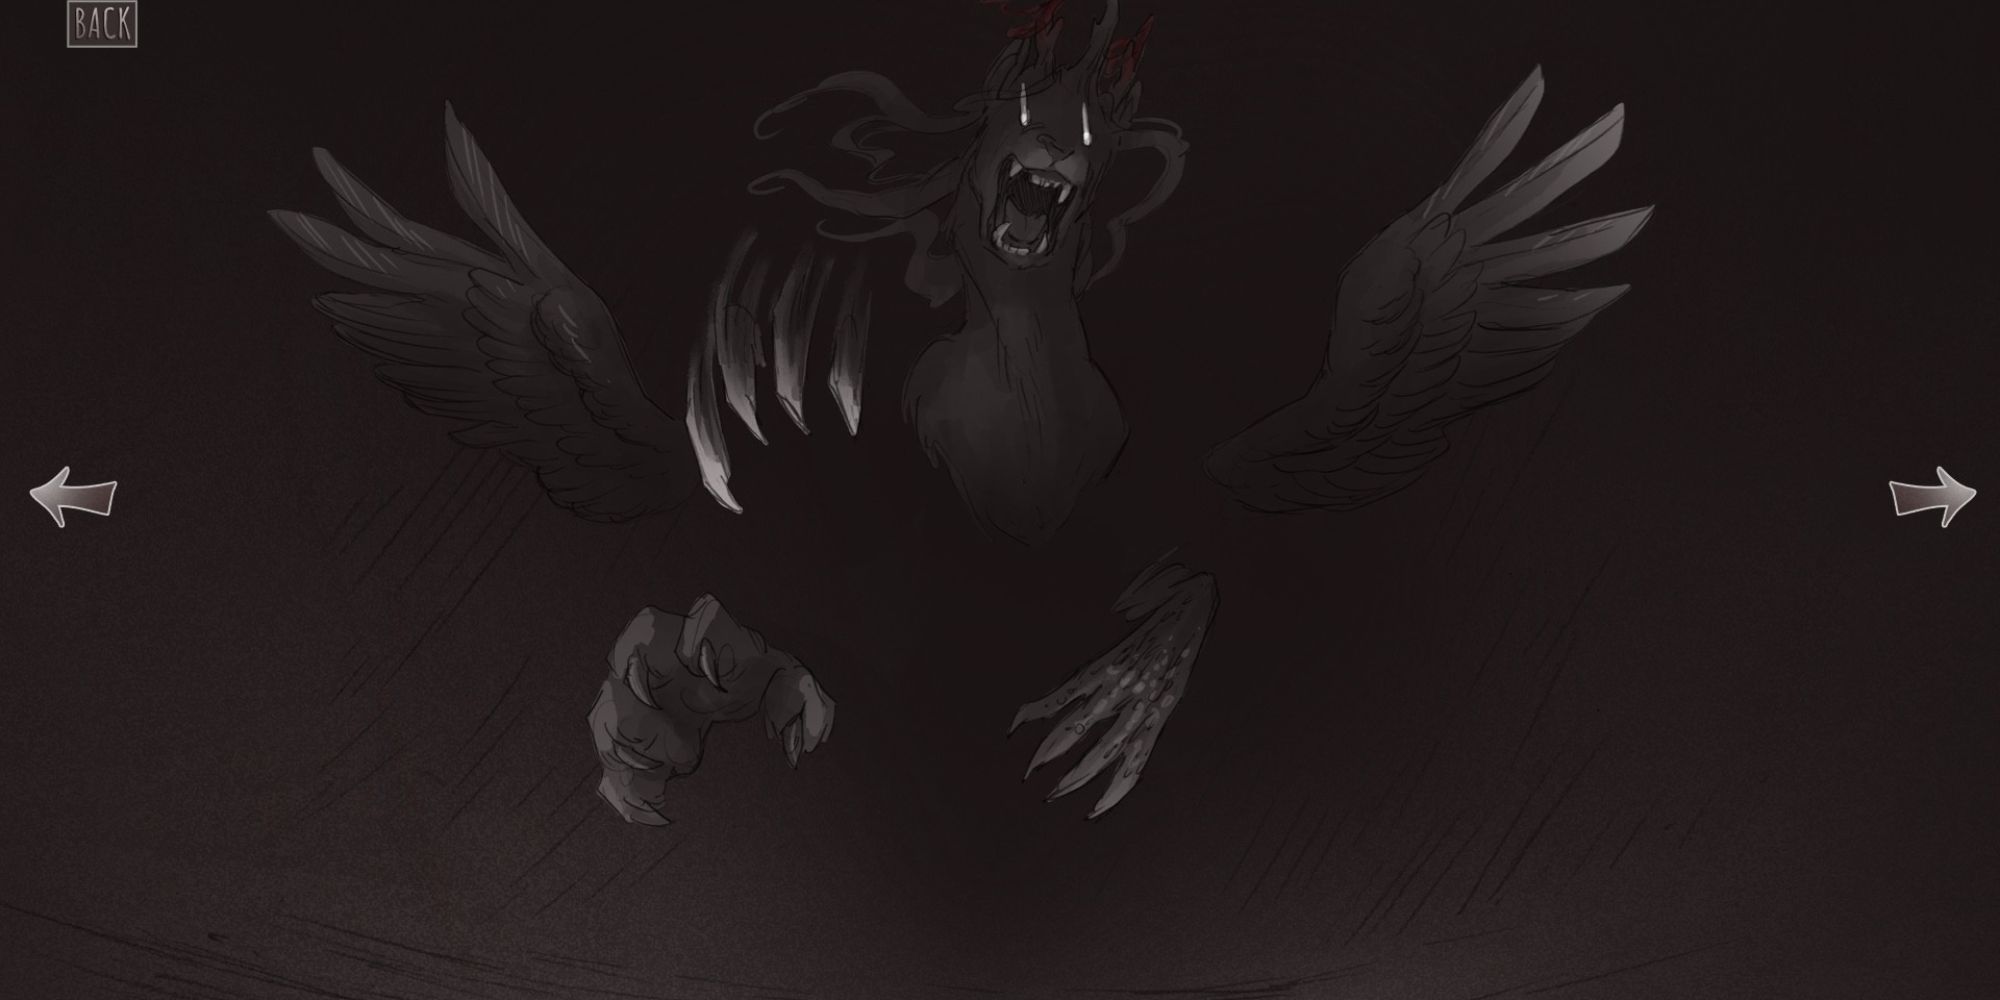
Now devoid of sentience, the Princess assumes a primal form—far larger and more menacing—residing within a dark cavern in the cabin’s depths.
- Revisit the steps leading to The Beast.
- Ensure you take the blade.
- In confronting the Princess, act swiftly; do not delay.
- Select two (Explore) dialogue options.
- Survive her assault.
- You can choose [Stay. Alive] or [Wait for her to strike, then retaliate]. Each choice provides a different achievement and subsequent path in the next chapter.
- As the Princess devours half of your body, you perish, continuing to Chapter 3.
In this form, the Princess is stripped of language and rational thought, existing solely as a creature driven by instinct to hunt the naive.
When pursuing different outcomes within *The Den*, remain consistent with your Chapter 2 decisions: if you picked up the blade in Chapter 2, maintain that choice in this chapter; otherwise, the Shifting Mound may seize her prematurely.
The Wild
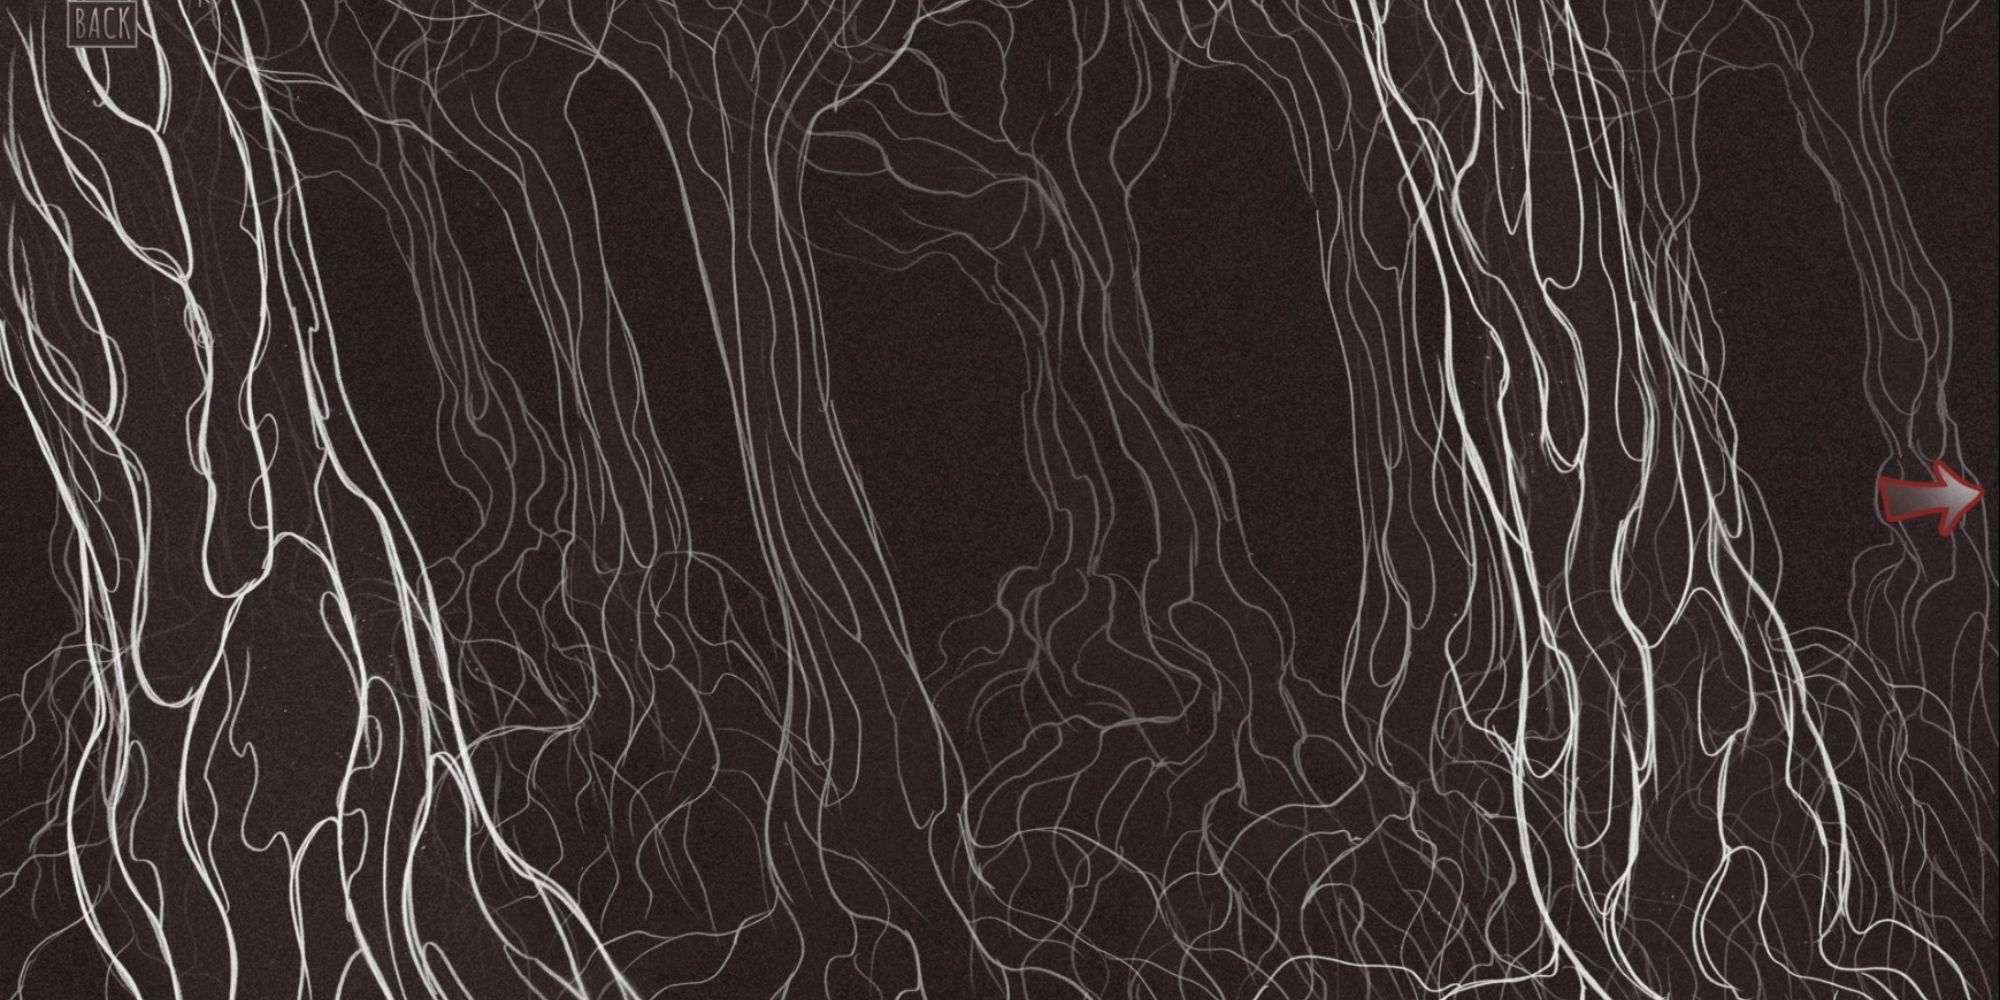
The Wild emerges as another variant of the Princess, capable of splitting into two closely related forms—achieved in Chapter 3 through pathways involving either the Witch or the Beast from Chapter 2.
These variants branch off with similar yet different options depending on your choices, culminating in events where the Witch eliminates you with the cabin’s roots or the Beast devours you completely. Here’s a straightforward path for each Chapter 2 variant:
The Witch:
- Whether or not you carry the blade, confront the Princess.
- Leave her behind in the basement.
- She will ensnare you with the cabin’s roots.
- Submit and await your doom.
The Beast:
- Engage the Princess in the basement, regardless of your blade possession.
- Do not evade; instead, get swallowed whole by the Beast.
The Wild represents the intertwined essence of everything: woods, cabin, and earth. You and the Princess amalgamate into a singular existence.
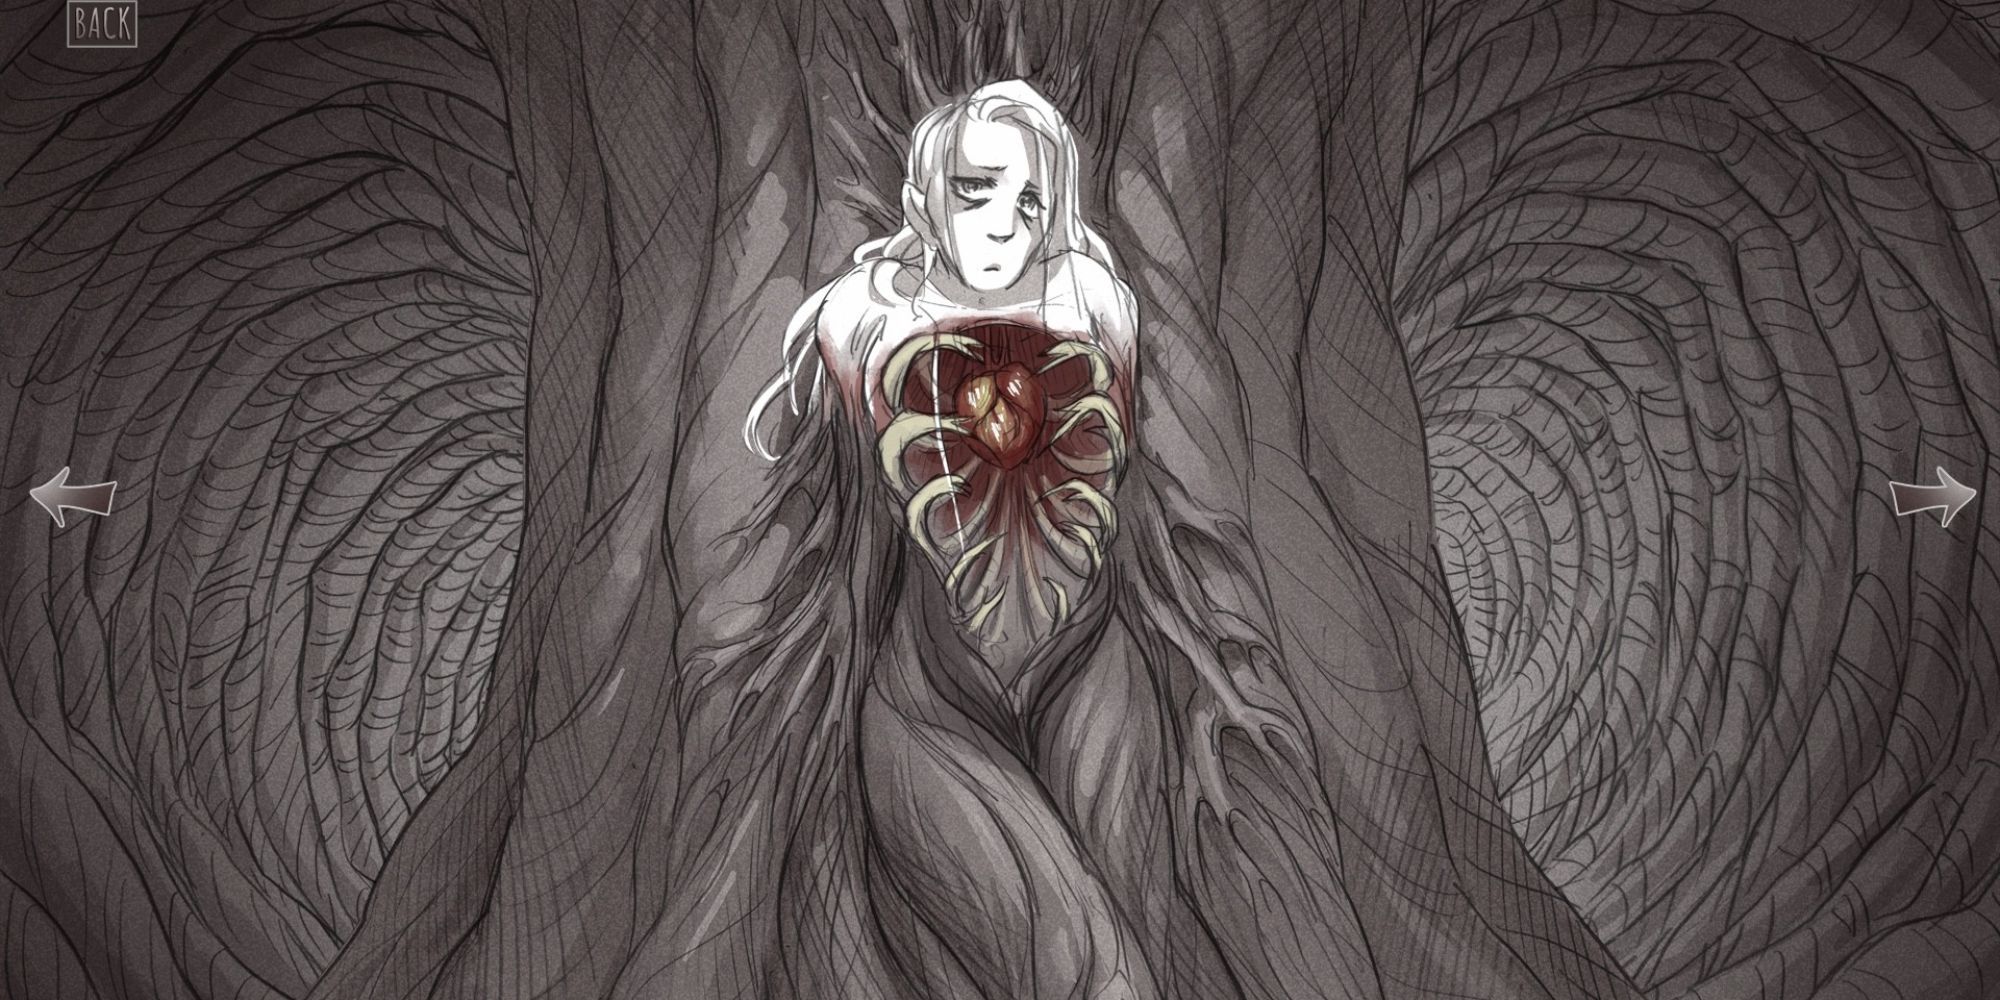
Upon exhausting dialogue options, you’ll face a choice between [Gaze at the hatred in your heart] or [Bury it. Now. Before it’s too late]. This decision determines whether you accept or reject unity with the Princess.
If you choose to confront that hatred, you’ll separate from the Princess, revealing her entwined form with a tree trunk as the Wounded Wild, where you can either free her or slay her.
Conversely, choosing to embrace her leads to the Networked Wild, where surprising revelations about the cyclic nature of your demise unfold.
The Thorn
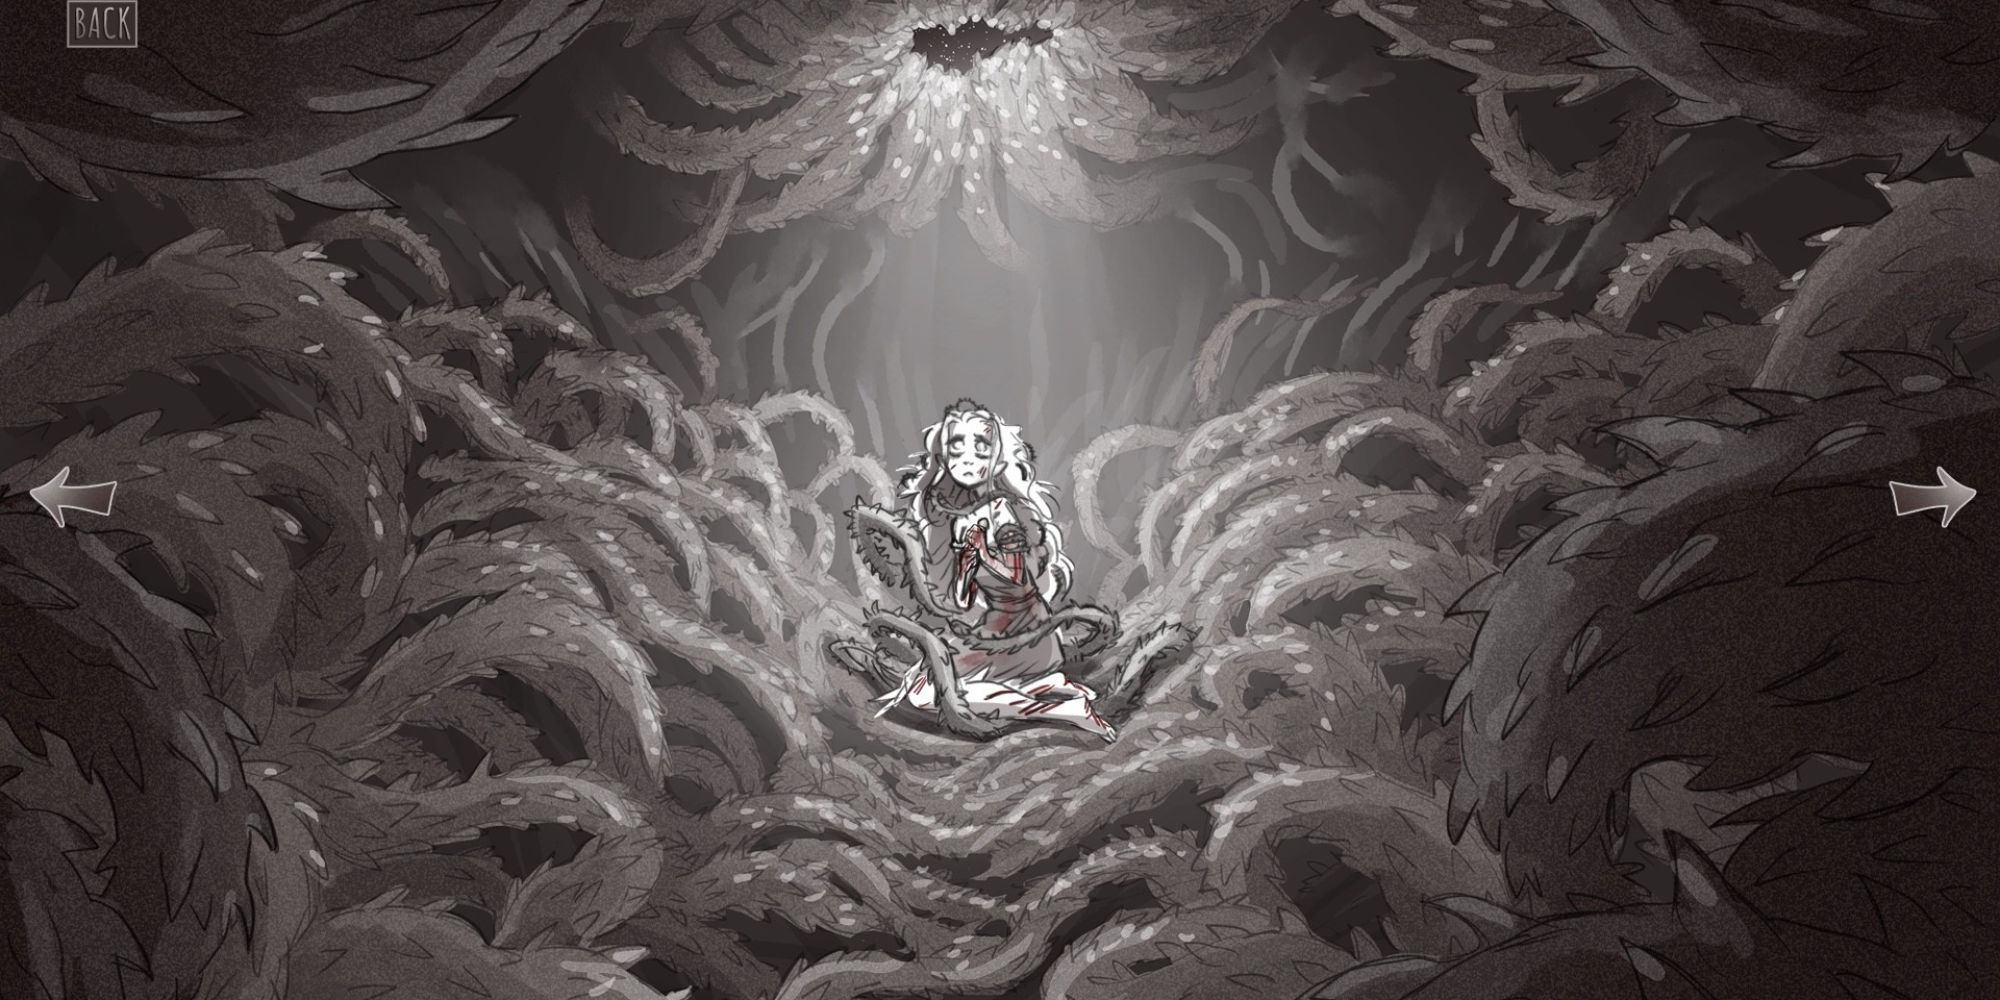
To reach the Witch:
- Revisit the steps to approach the Witch.
- Secure the blade before entering the basement.
- As you progress, navigate the path of decisions until facing the Princess.
- Select the option to [Give her the blade].
- Confirm your choice by clicking it again.
- OPTIONAL: If you wish to establish a deeper connection, tell her, “You’re beautiful. I want to actually save you, and this feels like the only way to do it.”
- She will retaliate with a stab to your heart, but her regret will follow. You will die, transitioning to Chapter 3.
Within this chapter, the Princess seeks a resolution to the cycle of violence encompassing your interactions. This truce leads to her becoming a version ensnared within a prison of hostile vegetation while holding the Pristine Blade.
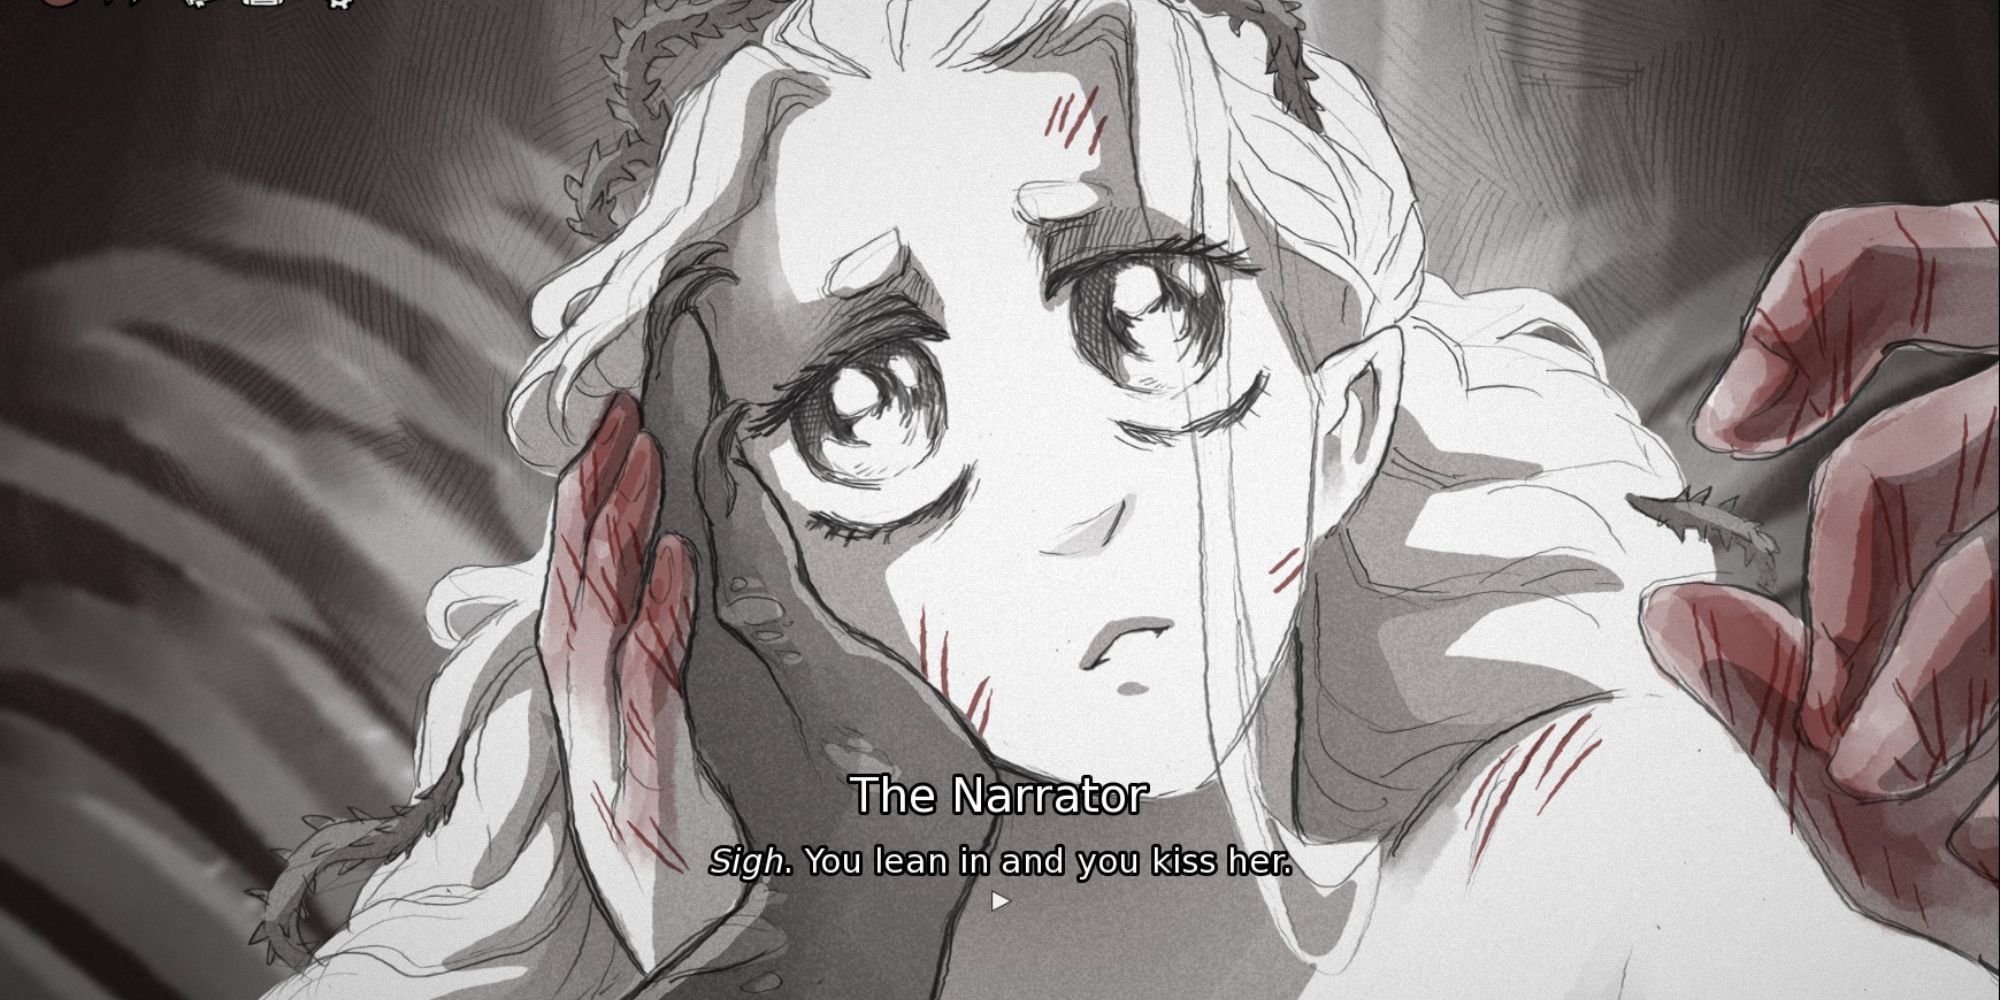
Gaining her trust is crucial, as will her hesitance toward your intentions; thus, being earnest throughout the conversation is key. To kiss the Princess, consider these dialogue prompts:
- During the descent into the basement, declare, I just want to talk. Really talk. Then proceed cautiously down the stairs.
- Upon encountering the Princess, acknowledge her feelings by saying, “I’m not here to laugh. I’m here to free you. If you’ll let me.”
- To affirm your commitment, clarify, “You’re not the only one who yearns for freedom. I’m as trapped as you are. I think we need to leave together.”
- Exhaust the uppermost dialogue options. Ask her, “Is there nothing I can say to change your mind?”
- Ultimately, take the leap and say, “Then perhaps it’s time for us to put our words to action.”[Reach for the blade.]
- With her newfound trust in you, cut her free.
- Finally, kiss her. Congratulations, you have romanced the Princess!
The Cage
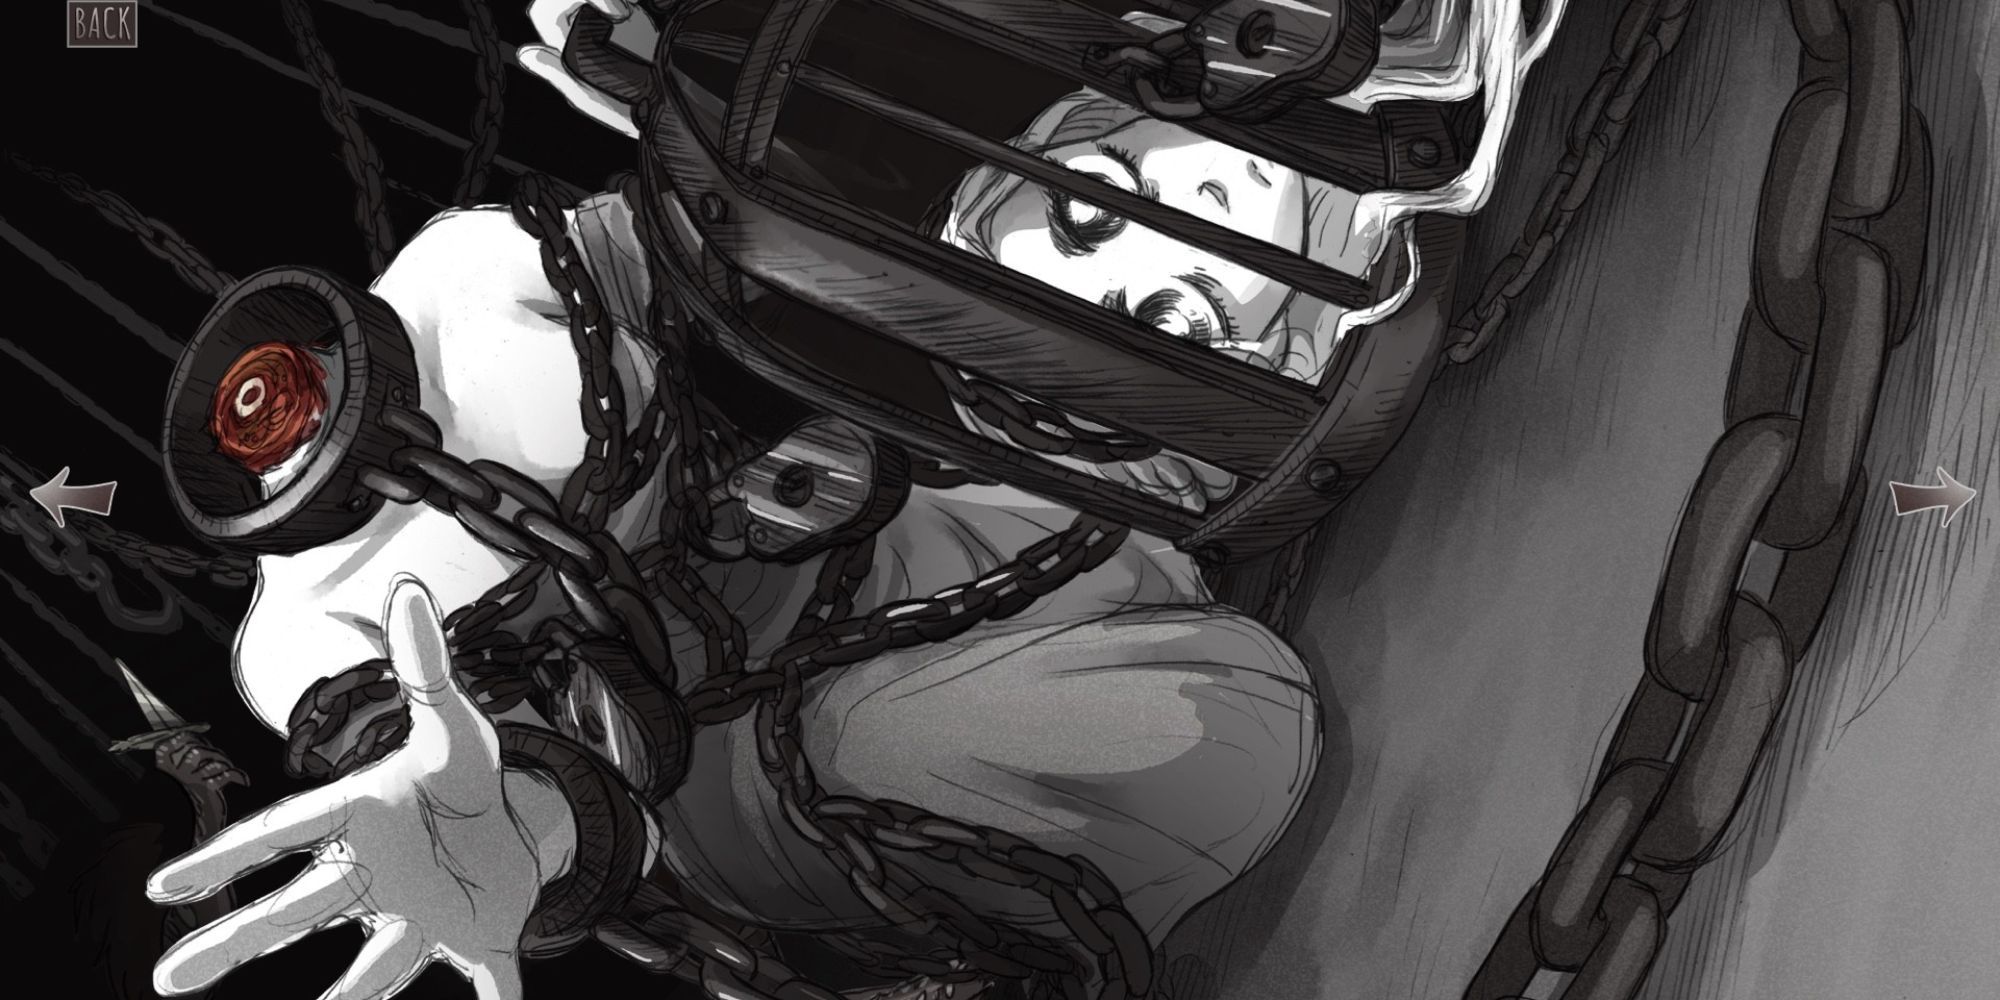
Despite her composed exterior, the Princess falters as she tries to free herself with the blade you provided. Here’s how you progress to Chapter 3: The Cage:
- Follow the steps to reach The Prisoner.
- Take the blade prior to entering the basement.
- Honor the Princess’s request by sitting respectfully where she directs.
- Exhaust all dialogue options until she expresses a desire for your blade.
- Agree to grant her the blade. In doing so, she will subsequently decapitate herself.
- Leave her head in the basement, attempting an exit from the cabin.
- Since her death prevents your departure, you must slay yourself with the blade.
- This sequence ushers you into Chapter 3: The Cage.
In this scenario, the decapitated Princess now exists as a disembodied observer, a vessel burdened with witnessing her own deliberations.
The Grey
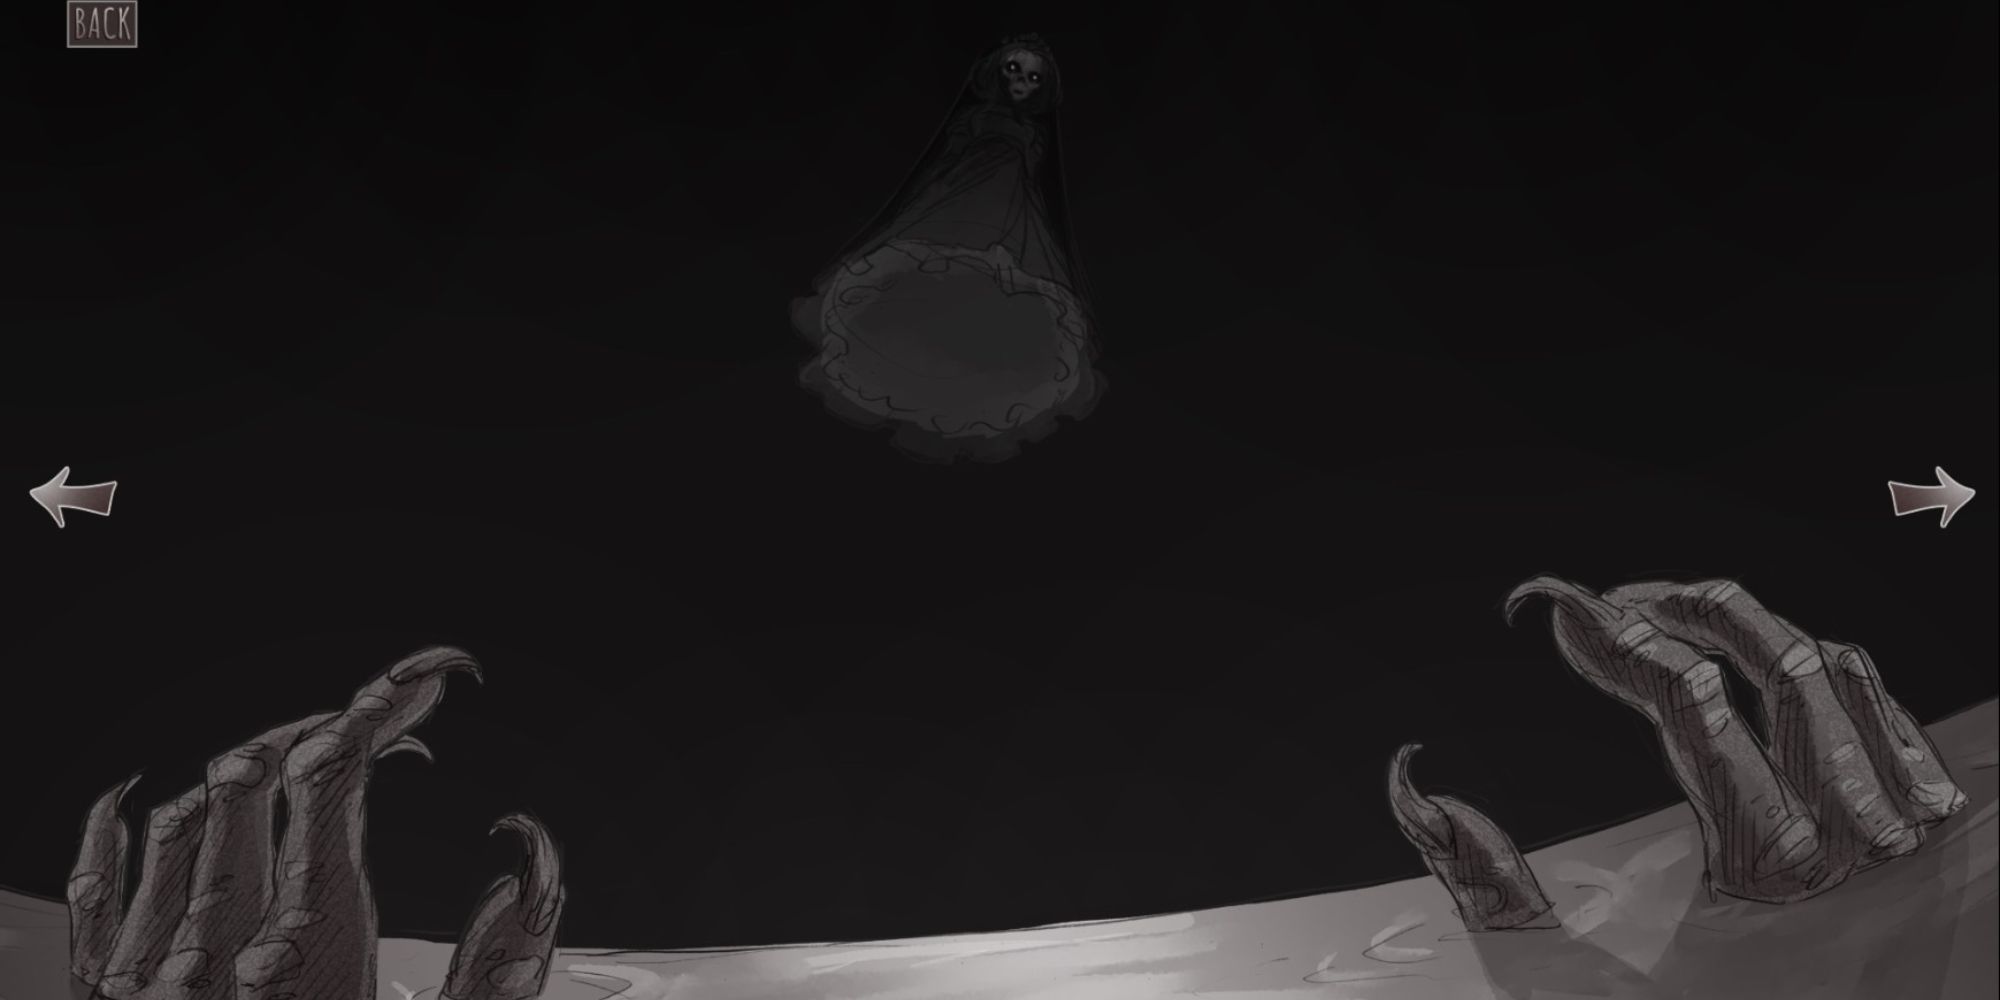
Similar to the Wild, the Grey acts as a Princess variant that bifurcates based on whether you slay the Prisoner or the Damsel.
The Drowned Grey:
- Complete Chapter 1 by adhering to the Prisoner path.
- Prior to entering the basement, take the blade.
- Make your choices, culminating in slaying the Princess.
The Burned Grey:
- Complete Chapter 1 by following the Damsel path.
- Before venturing into the basement, take the blade.
- Choose freely and ultimately slay the Princess.
Both iterations echo sorrowful narratives surrounding the relentless cycle of violence emanating from your choices.
The Drowned Grey symbolizes the grieving spirit of the Prisoner, harboring resentment towards you for her untimely demise, whereas the Burned Grey, a manifestation of the Damsel, embodies a twisted affection, desiring to join you in death.
Epilogue: Happily Ever After
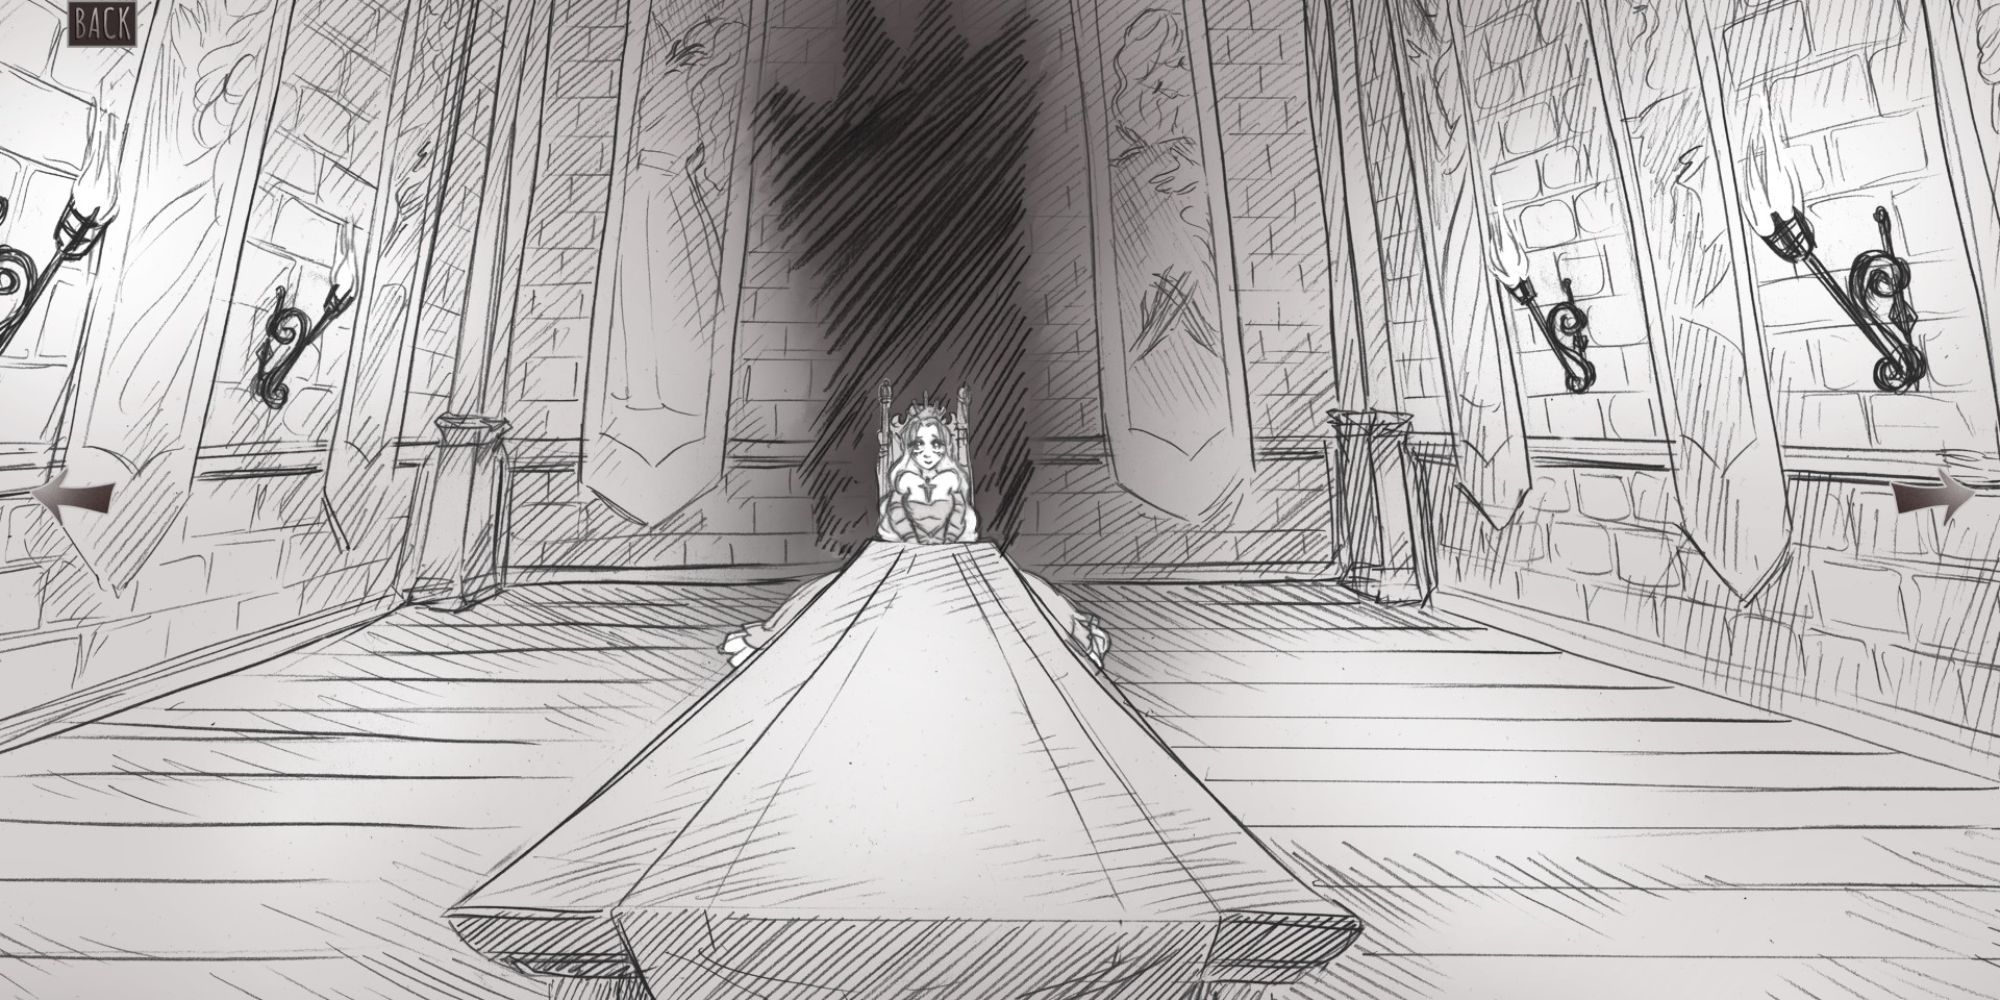
Despite the Narrator’s insistence that you eliminate the Princess, you choose the contrary and rescue her, stepping into the bravado of the hero in her tale. Like any enchanting fairy tale, you would think that you both achieve happiness ever after.
However, to delve into the possibilities with the Princess, follow these steps for the Epilogue:
- Follow the path in Chapter 1 to access the Damsel.
- Leave the blade before entering the basement.
- Engage in any desired dialogue before rescuing the Princess.
- When she inquires about your intentions, respond with, “We leave. And then we have our whole lives to figure out what we want to do next.”
- Exit the basement with the Princess. When prompted, do not slay her.
- The Princess may exhibit skepticism towards your resolve, leading with, “Trust me. It’ll be better for both of us if we stay. We can be happy here. We just have to want it.”
- Open your heart to her, literally. Everything shrouds in darkness, and you perish.
Alternatively, there exists another path that yields similar results but introduces you to the Voice of the Paranoid:
- Starting from according to step 3 from the earlier instructions, choose (Explore) “What do you want to do?”
- Select (Explore) options three additional times to satisfy the Princess’s innate people-pleasing nature, causing her form to deteriorate into rough sketches.
- Just before the situation escalates unexpectedly, opt for “Okay. Clearly something is happening here, and I’m very scared…” The Princess will revert to her original state, perplexed by your concerns.
- The Voice of the Smitten will unlock your heart, resulting in another instance of death.
Recognized as the sole “Epilogue”in the game, this chapter paints a picture of a seemingly utopian existence together with the Princess, appearing perfect forever. But as you dig deeper, one must question the underlying desires of both characters.


Leave a Reply