
Overview of the Fighter Class in Baldur’s Gate 3
- Feinting Attack: Grants extra damage, costs both a Standard and Free Action.
- Distracting Attack: Provides Advantage for allies and deals additional damage to enemies.
- Commander’s Strike: Allows Fighters to instruct allies to attack, particularly useful for defensive builds.
The Fighter is a classic archetype in role-playing games, often viewed as an accessible option for newcomers. Yet, they can also be intricately customized with unique builds. In Baldur’s Gate 3, as Fighters reach level 3, they elect a subclass. Opting for the Battle Master opens up an impressive array of 14 specialized moves.
Players looking to maximize their potential should focus on learning the most effective Battle Master Maneuvers early on, reserving specialized techniques for higher levels. By level 12, characters can select from seven Maneuvers, chosen at levels 3, 7, and 10 from a pool of 14 options tied to the Battle Master subclass.
Updated February 26, 2025, by Kristy Ambrose: “Baldur’s Gate 3″revitalizes the beloved franchise, offering both veterans and newcomers an unparalleled experience in role-playing. Every statistic, score, and buff impacts gameplay, compelling players to meticulously develop their characters to defeat formidable foes. With its high degree of customization, the Fighter class is not only beginner-friendly but also rewarding for seasoned players pursuing the Battle Master path, enabling them to harness some of the game’s most powerful maneuvers.
14 Feinting Attack
Extra Damage Is A Strong Advantage


- Action Type: Melee, Standard + Bonus Action
The Feinting Attack is a robust option that allows players to strike with Advantage while dealing bonus damage, making it particularly effective against resilient foes. It excels at whittling down hit points with minimal effort.
However, its usage comes at a cost, as both a Standard and Free Action are expended in one go. In Baldur’s Gate 3, effectively managing action economy is crucial; players may hesitate at the prospect of sacrificing so much for a single maneuver.
13 Distracting Attack
Grants Advantage Against Enemies


- Action Type: Melee or Ranged, Standard Action
Initiating with a Distracting Attack can significantly enhance the efficiency of party members’ subsequent actions. This technique enables an ally to strike the targeted enemy with Advantage, substantially raising the likelihood of a successful hit.
The attack also inflicts additional damage, ensuring that even as an opener, it contributes meaningfully to team damage output, especially against challenging enemies like bosses.
12 Commander’s Strike
Instruct Allies to Strike


- Action Type: Action + Bonus Action
Commander’s Strike shines in defender roles or for players assuming a leadership position in combat. This maneuver is best deployed later in the game when characters possess enhanced movement and combat capabilities.
Fighters utilizing this tactic can prompt an ally to execute a melee weapon strike as a reaction, leaving their own turn intact. However, given that it exclusively pertains to physical attacks, it is most effective when employed alongside agile, melee-oriented companions like Rogues.
11 Sweeping Attack
Arc Attack to Strike Multiple Foes


- Action Type: Melee, Standard Action
Sweeping Attack stands out as a potent melee move that damages adjacent enemies in a sweeping arc around the Fighter. As a Level 3 ability, it provides an early Area of Effect (AoE) option, beneficial if the Fighter is the sole front-line presence in the party.
This maneuver compensates for the Fighter’s lack of AoE options compared to spellcasting classes. While effective in early-game scenarios, players may consider swapping it out as they progress and acquire better options through Withers.
10 Evasive Footwork
A Defensive Tactic to Absorb Damage


- Action Type: Free Action
Evasive Footwork may not seem as impressive at first glance, yet it provides remarkable defensive benefits. Many other Maneuvers focus on inflicting damage or controlling foes, whereas Evasive Footwork serves as a self-buff that remains effective into late-game scenarios.
For Fighters bearing the brunt of incoming melee damage, this maneuver can make a significant difference by granting Disadvantage on attacks directed toward them until their next turn. When anticipating heavy damage or surrounded by enemies, employing Evasive Footwork can markedly enhance survival chances.
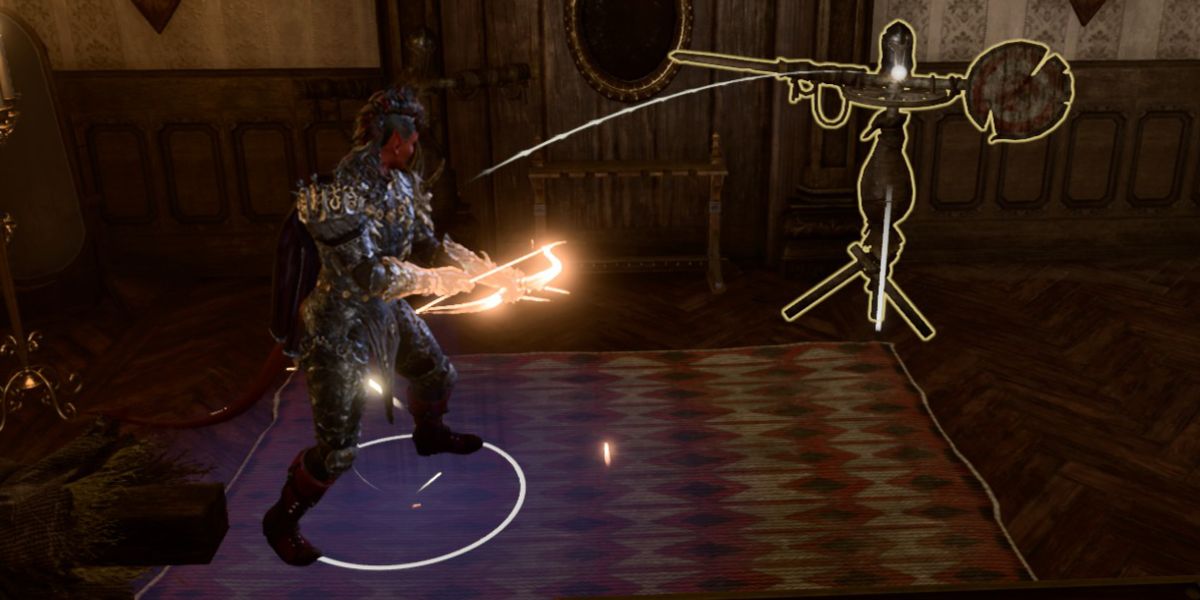
9 Disarming Attack
Disarm Opponents


- Action Type: Melee or Ranged, Standard Action
Disarming an enemy can be incredibly frustrating, particularly for players lacking a backup weapon. This situation escalates if a character is a dual-wielder, forcing them to waste crucial turns re-equipping their weapons.
Executing a Disarming Attack can apply these frustrations to foes, making it one of the top maneuvers in Baldur’s Gate 3. Successfully disarming opponents causes them to waste action retrieving their weapon, proving advantageous to the party.
8 Rally
Enhancing Party Survivability


- Action Type: Melee or Ranged, Standard Action
Rally does not directly engage enemies; instead, it empowers allies by providing temporary hit points. This effective maneuver grants 8 temporary HP to an ally within 18m, allowing the Fighter to attack while also lending support.
Although Rally shines at lower levels, its static HP increment means its effectiveness diminishes in higher levels. Thus, it’s advisable to select this maneuver early, as it becomes less advantageous past Level 5.
7 Goading Attack
Deflecting Enemy Attention


- Action Type: Melee or Ranged, Standard Action
In a party where several members exhibit high damage outputs, some may be frail and unable to sustain hits, particularly in challenging modes like Tactician Mode—where stakes are high.
Goading Attack allows a Fighter to draw enemy focus, vital for protective builds. If an enemy does attack another party member, they’ll be at a Disadvantage, thereby improving overall team survivability. When tactically applied, this maneuver significantly bolsters a Fighter’s utility.
6 Riposte
Countering Without Action Cost


- Action Type: Melee Reaction
Differentiating itself from many other maneuvers, Riposte operates as a Reaction, allowing players to respond strategically without expending an Action. It’s advisable for players to keep this activated for optimal defense.
When an enemy’s attack misses, players can utilize one Superiority Die to counter-attack, inflicting base weapon damage plus an additional 1d8, which can shift the tide of battle dramatically—without a cost in Action economy.
5 Maneuvering Attack
Enhancing Ally Mobility in Battle


- Action Type: Melee or Ranged, Standard Action
Maneuvering Attack is invaluable for enhancing ally movement on the battlefield. Upon hitting an enemy, the Fighter can designate a friendly target to restore half of their total Movement Speed, allowing for fluid repositioning.
This ability is particularly beneficial when utilized on vulnerable allies, such as spellcasters who might be at risk from Opportunity Attacks. By using this maneuver, players can create safer environments for teammates while maintaining offensive strategies.
4 Menacing Attack
Inflict Fear to Disable Foes


- Action Type: Melee or Ranged, Standard Action
Menacing Attack stands apart from other maneuvers in its offensive nature, possessing the capability to apply the Frightened condition on targets. This is a significant strategic advantage in Baldur’s Gate 3 as it effectively neutralizes an opponent’s actions, especially if they are a melee combatant.
When affected by Frightened, enemies become immobilized and incur Disadvantage on ability checks and attack rolls. Players may choose to focus on other supportive maneuvers before learning Menacing Attack, as its impact remains potent throughout gameplay.
3 Trip Attack
Force Enemies Prone


- Action Type: Melee or Ranged, Standard Action
Trip Attack is highly effective in incapacitating adversaries by knocking them prone, which not only halts their actions but enables teammates to unleash their attacks more freely. This also prevents an enemy from retaliating in their next turn.
This maneuver’s potential is amplified in critical engagements, although players should note that larger enemies may not be affected, limiting its applicability in some encounters.
2 Pushing Attack
Displacing Foes for Tactical Advantage


- Action Type: Melee or Ranged, Standard Action
Pushing Attack synergizes the Shove action with a standard attack, providing an effective means of manipulating enemy placement on the battlefield. This ability can lead to lethal outcomes, particularly in terrains that feature hazardous ledges and cliffs.
1 Precision Attack
Maximize Hit Probability
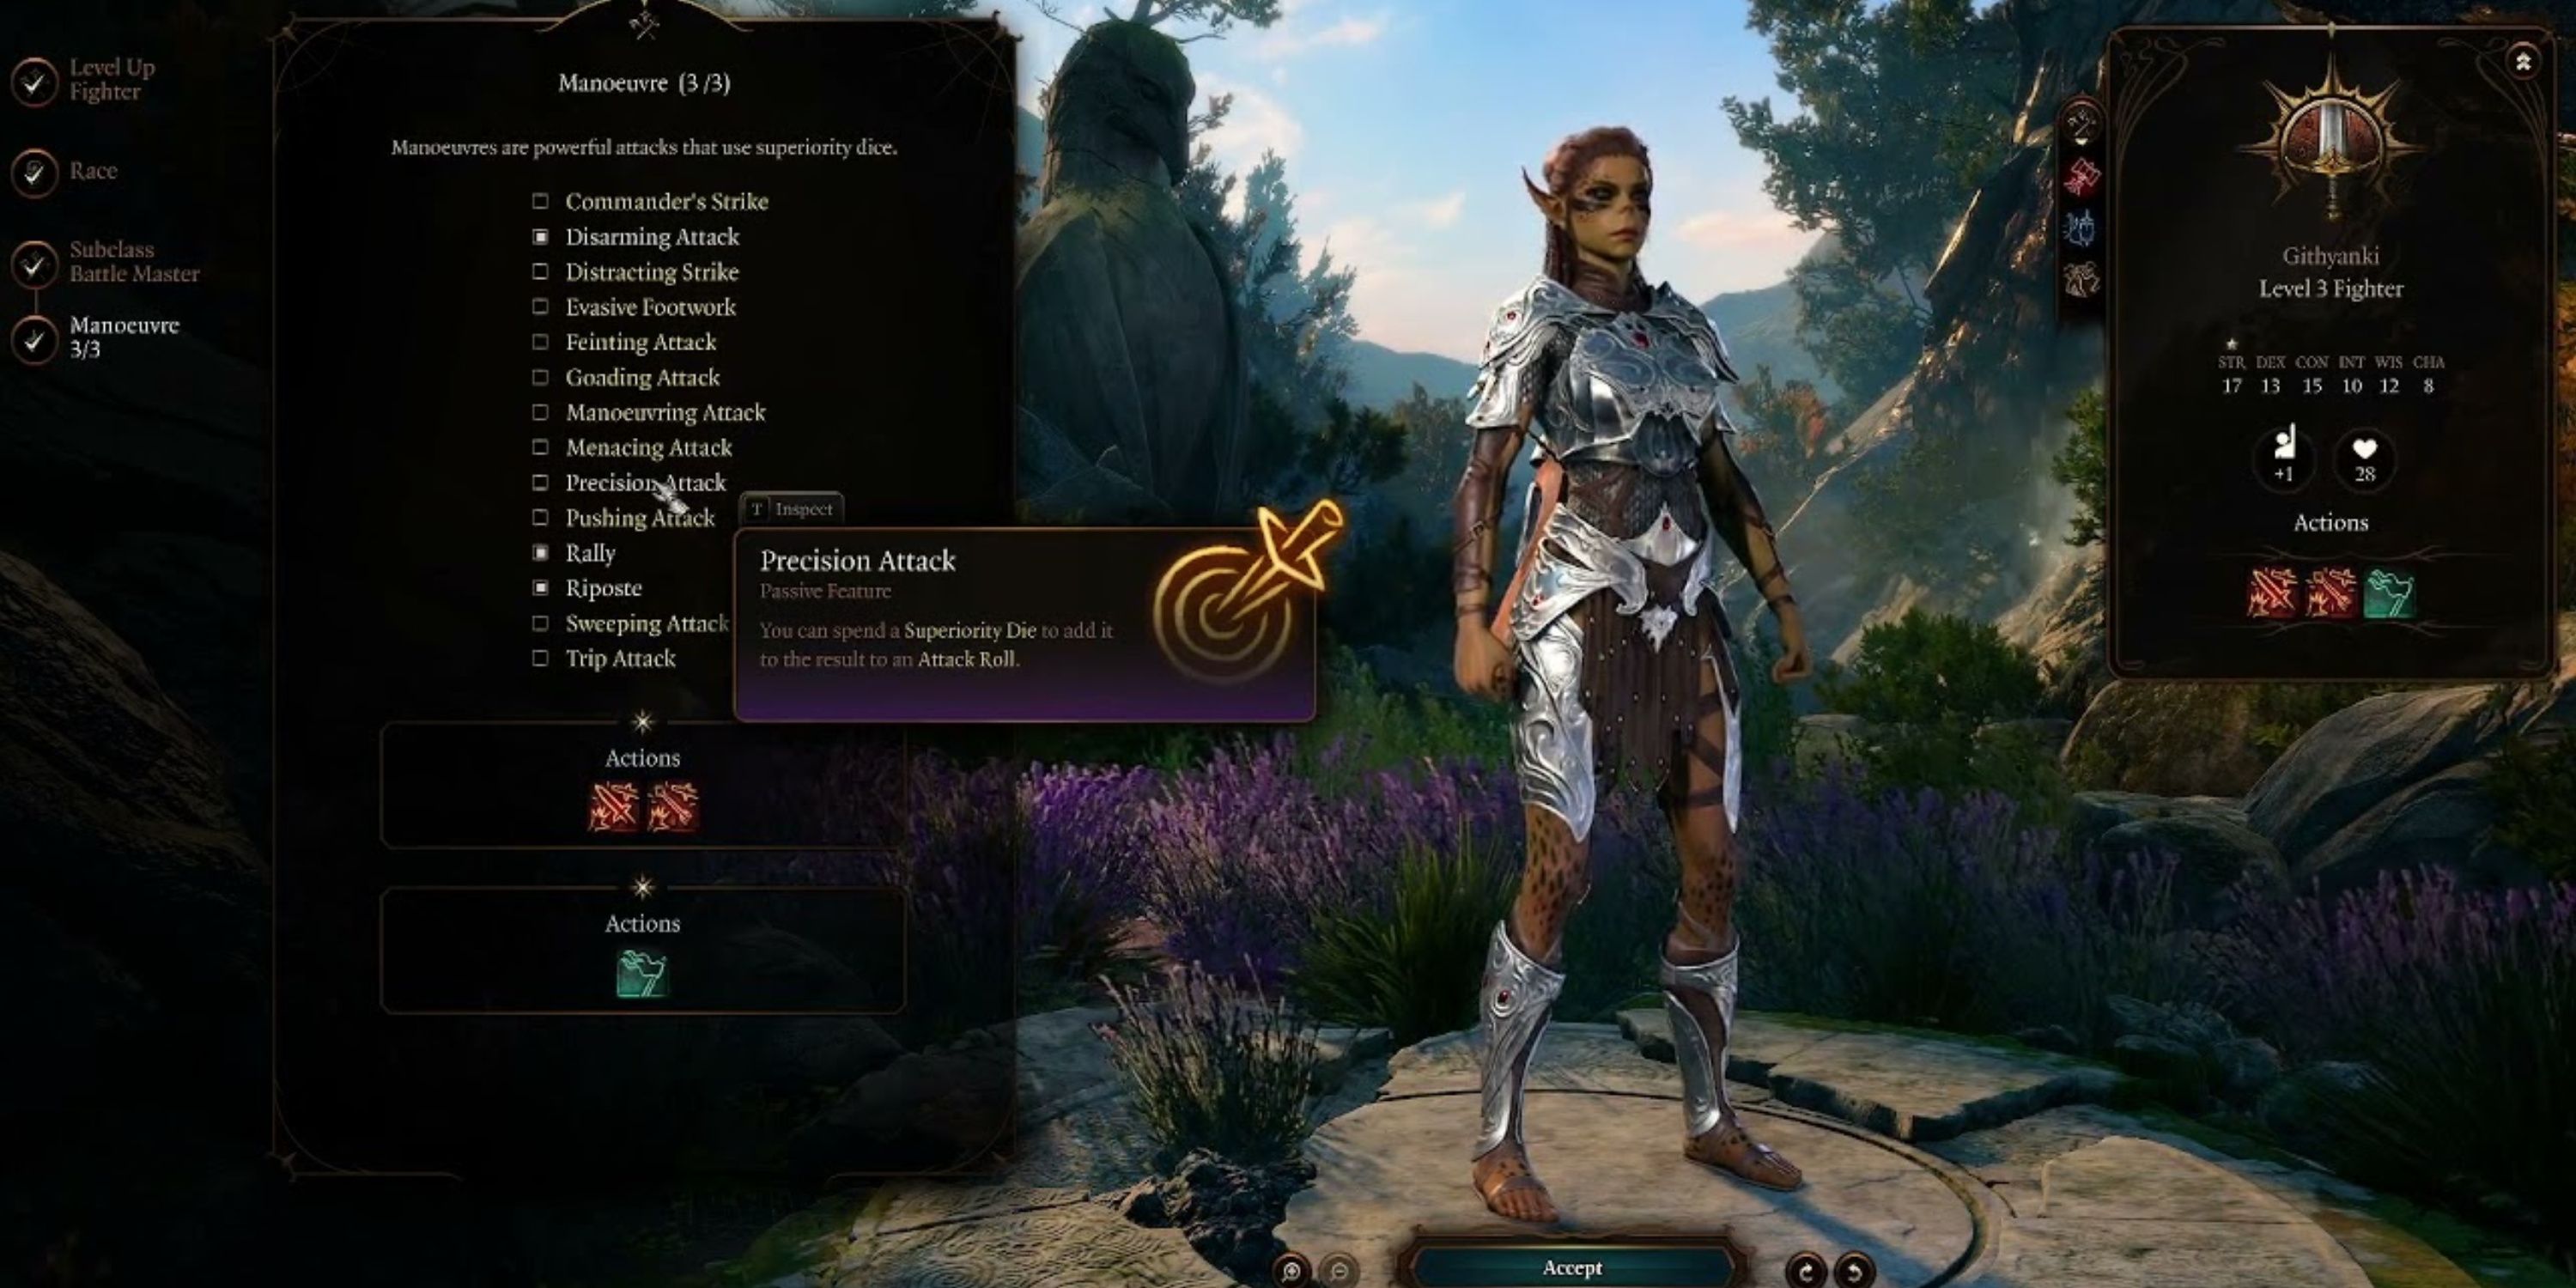
- Action Type: Free Action
Attack misses can be exceptionally disheartening, particularly for melee Fighters focused on dispatching foes swiftly. Precision Attack addresses this issue by enhancing hit probability, ensuring that vital hits are more likely to connect.


Leave a Reply