
In the eagerly awaited quest titled Oratores in Kingdom Come: Deliverance 2, players join Henry and his companions as they plot to compromise Sigismund’s military edge by targeting the Treasury. Their key to success lies in leveraging the Papal Legate’s presence to infiltrate the Italian Court.
This quest presents an array of challenges, including locating a significant key, navigating secret tunnels, an exhilarating horse race, and engaging in fierce battles. If you’re finding this quest particularly tricky, fear not—this guide has got you covered.
Lord Von Bergow’s Council

The first task in the quest calls for you to meet Zizka in Suchdol to discuss forthcoming actions. He’ll inform you about a council for Lord Von Bergow, scheduled for the next day. Use this time to either sleep or engage in side quests, then return to Zizka to participate in the meeting.
At Lord Von Bergow’s council, the team deliberates on the most effective method to disrupt Sigismund’s operations: corrupting the Treasury and pilfering silver from the Italian Court.
This strategic move would impede Sigismund’s ability to compensate his troops, likely leading to discontent and a decrease in military strength. The plan is to take advantage of the Papal Legate’s visit to execute this heist.
There are no dialogue choices during the council that affect its outcome. After the meeting, speak to Rosa, who reveals the existence of an underground tunnel linking Ruthard’s Palace to the Italian Court. Confirm your readiness to begin the operation by communicating this to Rosa.
While conversing with her, you can also hand over any poetry book obtained earlier during the Taking French Leave quest. If you succeeded in taking the book, Rosa will become a valuable teacher in the game; however, failing to acquire it means she won’t offer that opportunity.
Escorting Rosa to Ruthard’s Palace
Upon arriving in Kuttenberg with Rosa, you’ll reach the hidden tunnel’s entrance that leads to Ruthard’s Palace. Choose the option to “follow”Rosa, proceeding through the passageway until she halts at a pool of water.
Engage with her dialogue, where she expresses that the water is too deep and requests you to carry her. Accept her proposal, then carry her through the water until you reach solid ground.
After navigating the water, you’ll find a door that leads into Ruthard’s Palace. Entering triggers a scene where Rosa and Henry overhear warnings of intruders outside.
Venture through the door to the courtyard, activating a brief cutscene where Rosa outlines her wish for you to manage the intruders while she climbs into her room for vantage support—accept this tactical arrangement.
Ascend to the main courtyard area, where you’ll face six Vagabonds. They should pose little challenge, as they can be dispatched easily with a few strikes.
Once they are vanquished, Rosa will alert you from her window about someone attempting to break into her room. You must rush inside and eliminate all remaining enemies—three soldiers lurk on the lower level, and one soldier is trying to break into Rosa’s room upstairs.
After clearing the area, knock on Rosa’s door to inform her it’s safe. Once she unlocks it, enter for a conversation. If you’ve been cultivating a romance with Rosa, this is an excellent time to advance that plot element.
After your dialogue with Rosa, consider finding a bed downstairs to rest and rejuvenate.
Obtaining the Royal Treasury Key
The next objective involves acquiring the Royal Treasury Key. Commence this task by heading outside into the Ruthard’s Palace courtyard to converse with Zizka.
Zizka will indicate it’s time to retrieve the key from Vavak and assigns Henry for this duty.
Follow the red quest marker to reach Vavak’s location, only to find unfamiliar guards present instead of his usual detail. Engage with them and try to persuade them to let you enter by succeeding in the dialogue checks.
If you succeed, you’ll gain access without issue; if not, you’ll need to navigate inside through the back entrance.
Once inside, head up the stairs adjacent to the back entrance to find Christian Pisek rummaging through Vavak’s possessions. Speak to him about the heist to assess if he’s willing to collaborate.
Two outcomes are possible here: If you’ve aided Christian in the Via Argentum quest, he will be eager to assist you. Conversely, if you didn’t help him, expect a duel that culminates in either his defeat or demise alongside his two soldiers.
Regardless of the situation, be sure to obtain the Letter from Vavak and the Scribbled Letter from Christian, whether received willingly or taken from his body.
Locating the Royal Treasury Key
With both letters in hand, navigate to your inventory’s books section and read through them. The Scribbled Letter hints at the key being hidden in a rather unpleasant location.
Head to the back area outside to discover a small cabin containing a toilet. Investigate this toilet to retrieve the coveted key, then return to Zizka.
Exploring the Tunnel
Following your key recovery, Zizka assigns you and Samuel to explore the underground passage leading from Ruthard’s Palace to the Italian Court. Before setting off, consult Rosa for directions.
After gaining this insight, inform Samuel of your readiness and follow him into the kitchen and underground tunnel. Keep progressing straight until encountering a group of looters.
You have the choice to either persuade the looters to vacate the area peacefully or engage them in combat. It’s advisable to eliminate them quickly, as they pose minimal threat, and Samuel won’t mind your approach.
Continue along the tunnel until Samuel begins to knock on various walls. Pay attention—the right wall to investigate is located in the back left corner of the room and will display brown sludge.
If you tap this wall, it will yield a hollow sound, confirming you’ve located the correct passage. After marking it, exit the tunnels and return to Zizka.
Meeting the Papal Legate
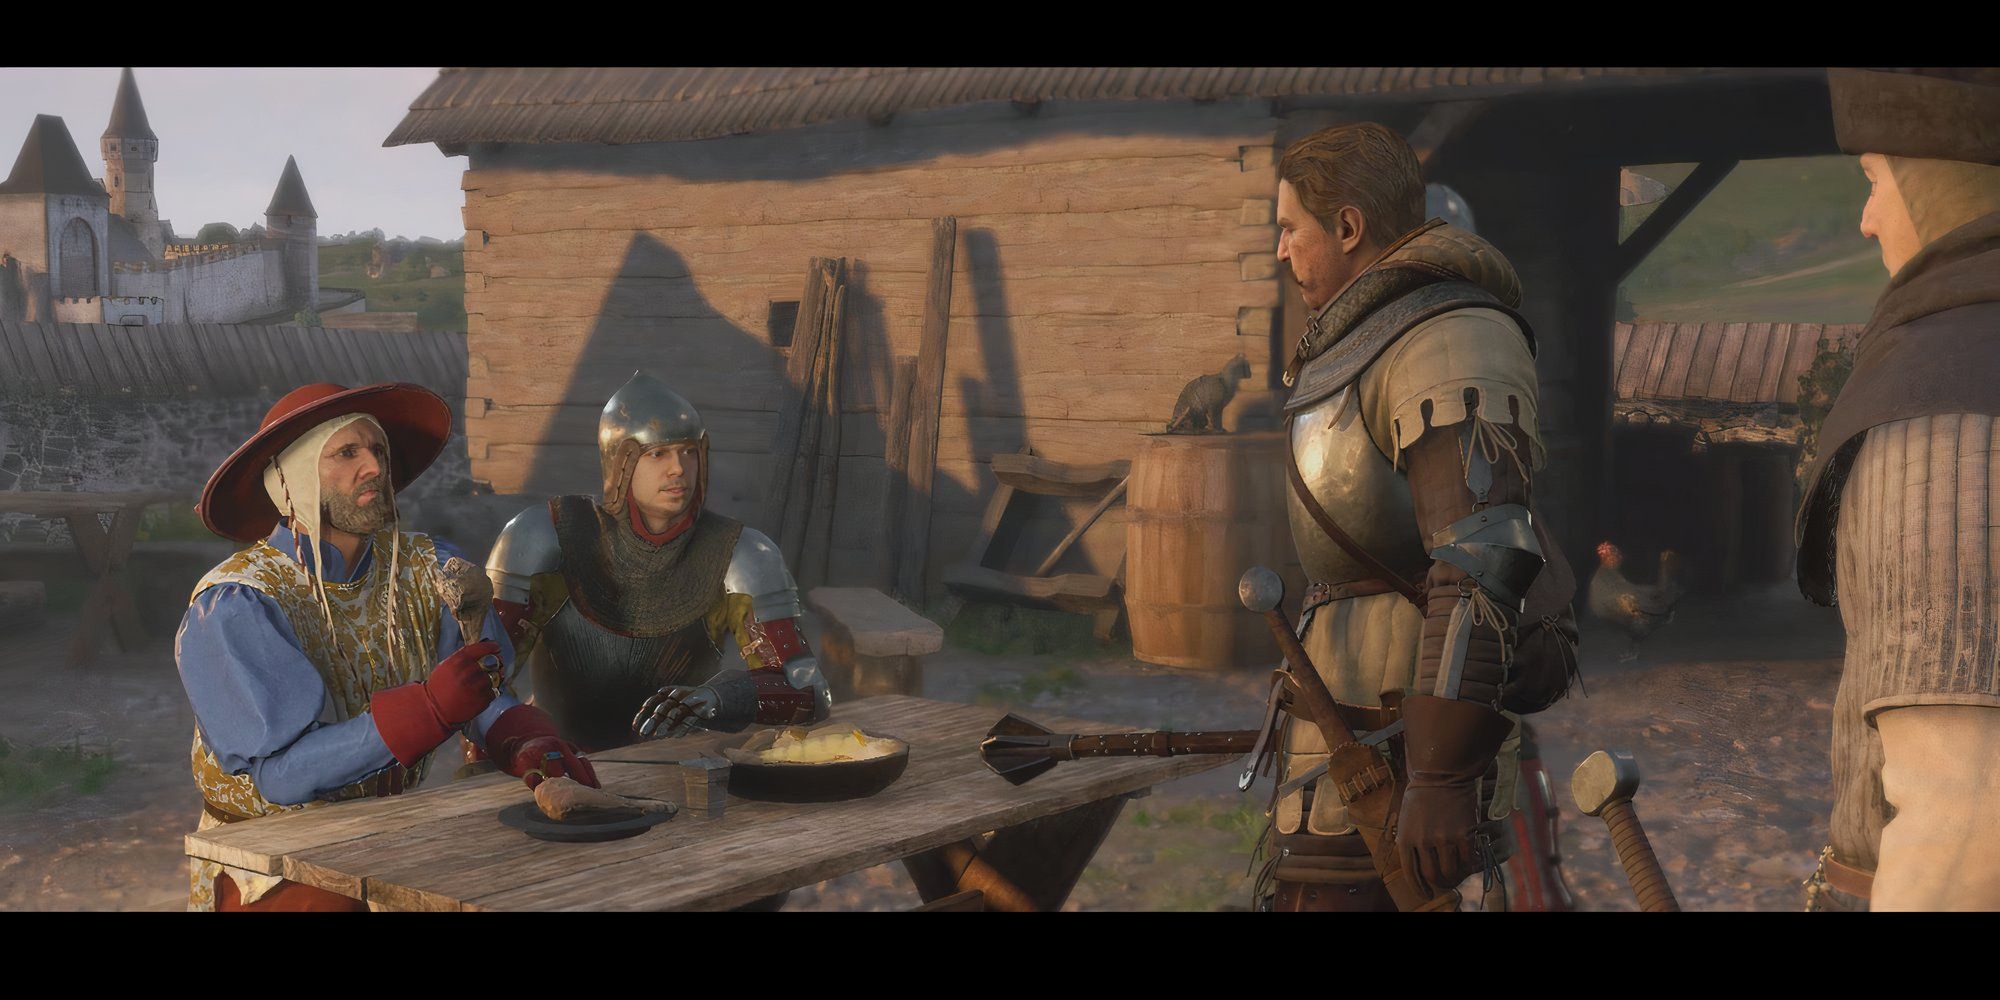
Henry and his team gather at a dining table to outline their subsequent actions, notably engaging with the Papal Legate. However, before proceeding, pass the time until 4 o’clock.
Once the hour strikes, meet everyone in the courtyard and communicate your readiness to the Dry Devil for the journey to Loretz, triggering a cutscene.
This encounter quickly spirals into chaos as Godwin’s attempt to converse with the Papal Legate crumbles, leading to an unfortunate misunderstanding due to his poor Italian. The Legate subsequently flees in fear with his guards.
Pursuing the Papal Legate
To prevent the Papal Legate’s escape, swiftly pursue him on horseback—failure to catch him results in game over. This segment may be notoriously difficult if your horse’s stats are inadequate. In such cases, consider obtaining a higher-performing horse from a stable in Kuttenberg instead of facing repeated failures.
Upon successfully catching up, a cutscene unfolds where the Legate meets misfortune, colliding with a tree branch and falling from his horse. Unfortunately, unluckily for him, he sustains fatal injuries.
This unexpected event necessitates a change in plans: Godwin must disguise himself as the Legate and impersonate him during the Treasury operation.
Before continuing, bear in mind that this marks the point of no return. If any side quests remain on your agenda, kindly inform Zizka you’ll catch up later.
Return to Ruthard’s Palace to hear Zizka and the Dry Devil dissect the new strategy. Proceed to visit Brabant, who will equip you with crucial Italian phrases for your next mission, “The Italian Job.”
Finally, don’t forget to see Rosa for a disguise before completing your business with Zizka, thus marking the end of the Oratores quest.


Leave a Reply