
Welcome to Discounty, a charming management simulation game where you assume the role of the sole proprietor at a burgeoning grocery store situated in a quaint town. Your responsibilities span a broad range of tasks, including cash handling, merchandise stocking, cleaning, and store layout optimization to enhance efficiency.
Given that you are largely responsible for the store’s success, it becomes evident early on that streamlining your operations can significantly ease your workload. A key area to prioritize is the organization of shelves, coolers, and product placements within your store’s interior.
So, how can you maximize sales, satisfy your customers, and simplify your managerial duties? Allow me to share some insights, Mr. Manager.
This guide will explore the strategic setup for each iteration of your grocery store throughout your journey in Discounty. Although you start off modestly, each expansion will grant you additional space, allowing for better product placement and enhanced sales opportunities.
Your Initial Layout

Your first store layout in Discounty will be relatively compact, with shelves and coolers that can each accommodate a maximum of five items. To set up an engaging shopping experience, consider front-loading your layout the evening before operation, ensuring an ample stock of products to avoid restocking issues throughout the day.
My strategy involves arranging three shelves or coolers for each product whenever possible to maintain sufficient stock levels. Although this requires an initial investment, the benefit of peace of mind is invaluable. Utilize wall space efficiently, and avoid trapping products in inaccessible corners.
Additionally, optimize the store layout by creating pathways with your shelving units that facilitate customer access and enhance their browsing experience.
During this initial phase, consider acquiring item boosters from the hardware store. While they may be costly and occupy valuable shelf space, they prove useful. Prioritize the seafood booster, placing it next to your fish cooler, as fresh fish typically yields high profit margins in the early game.
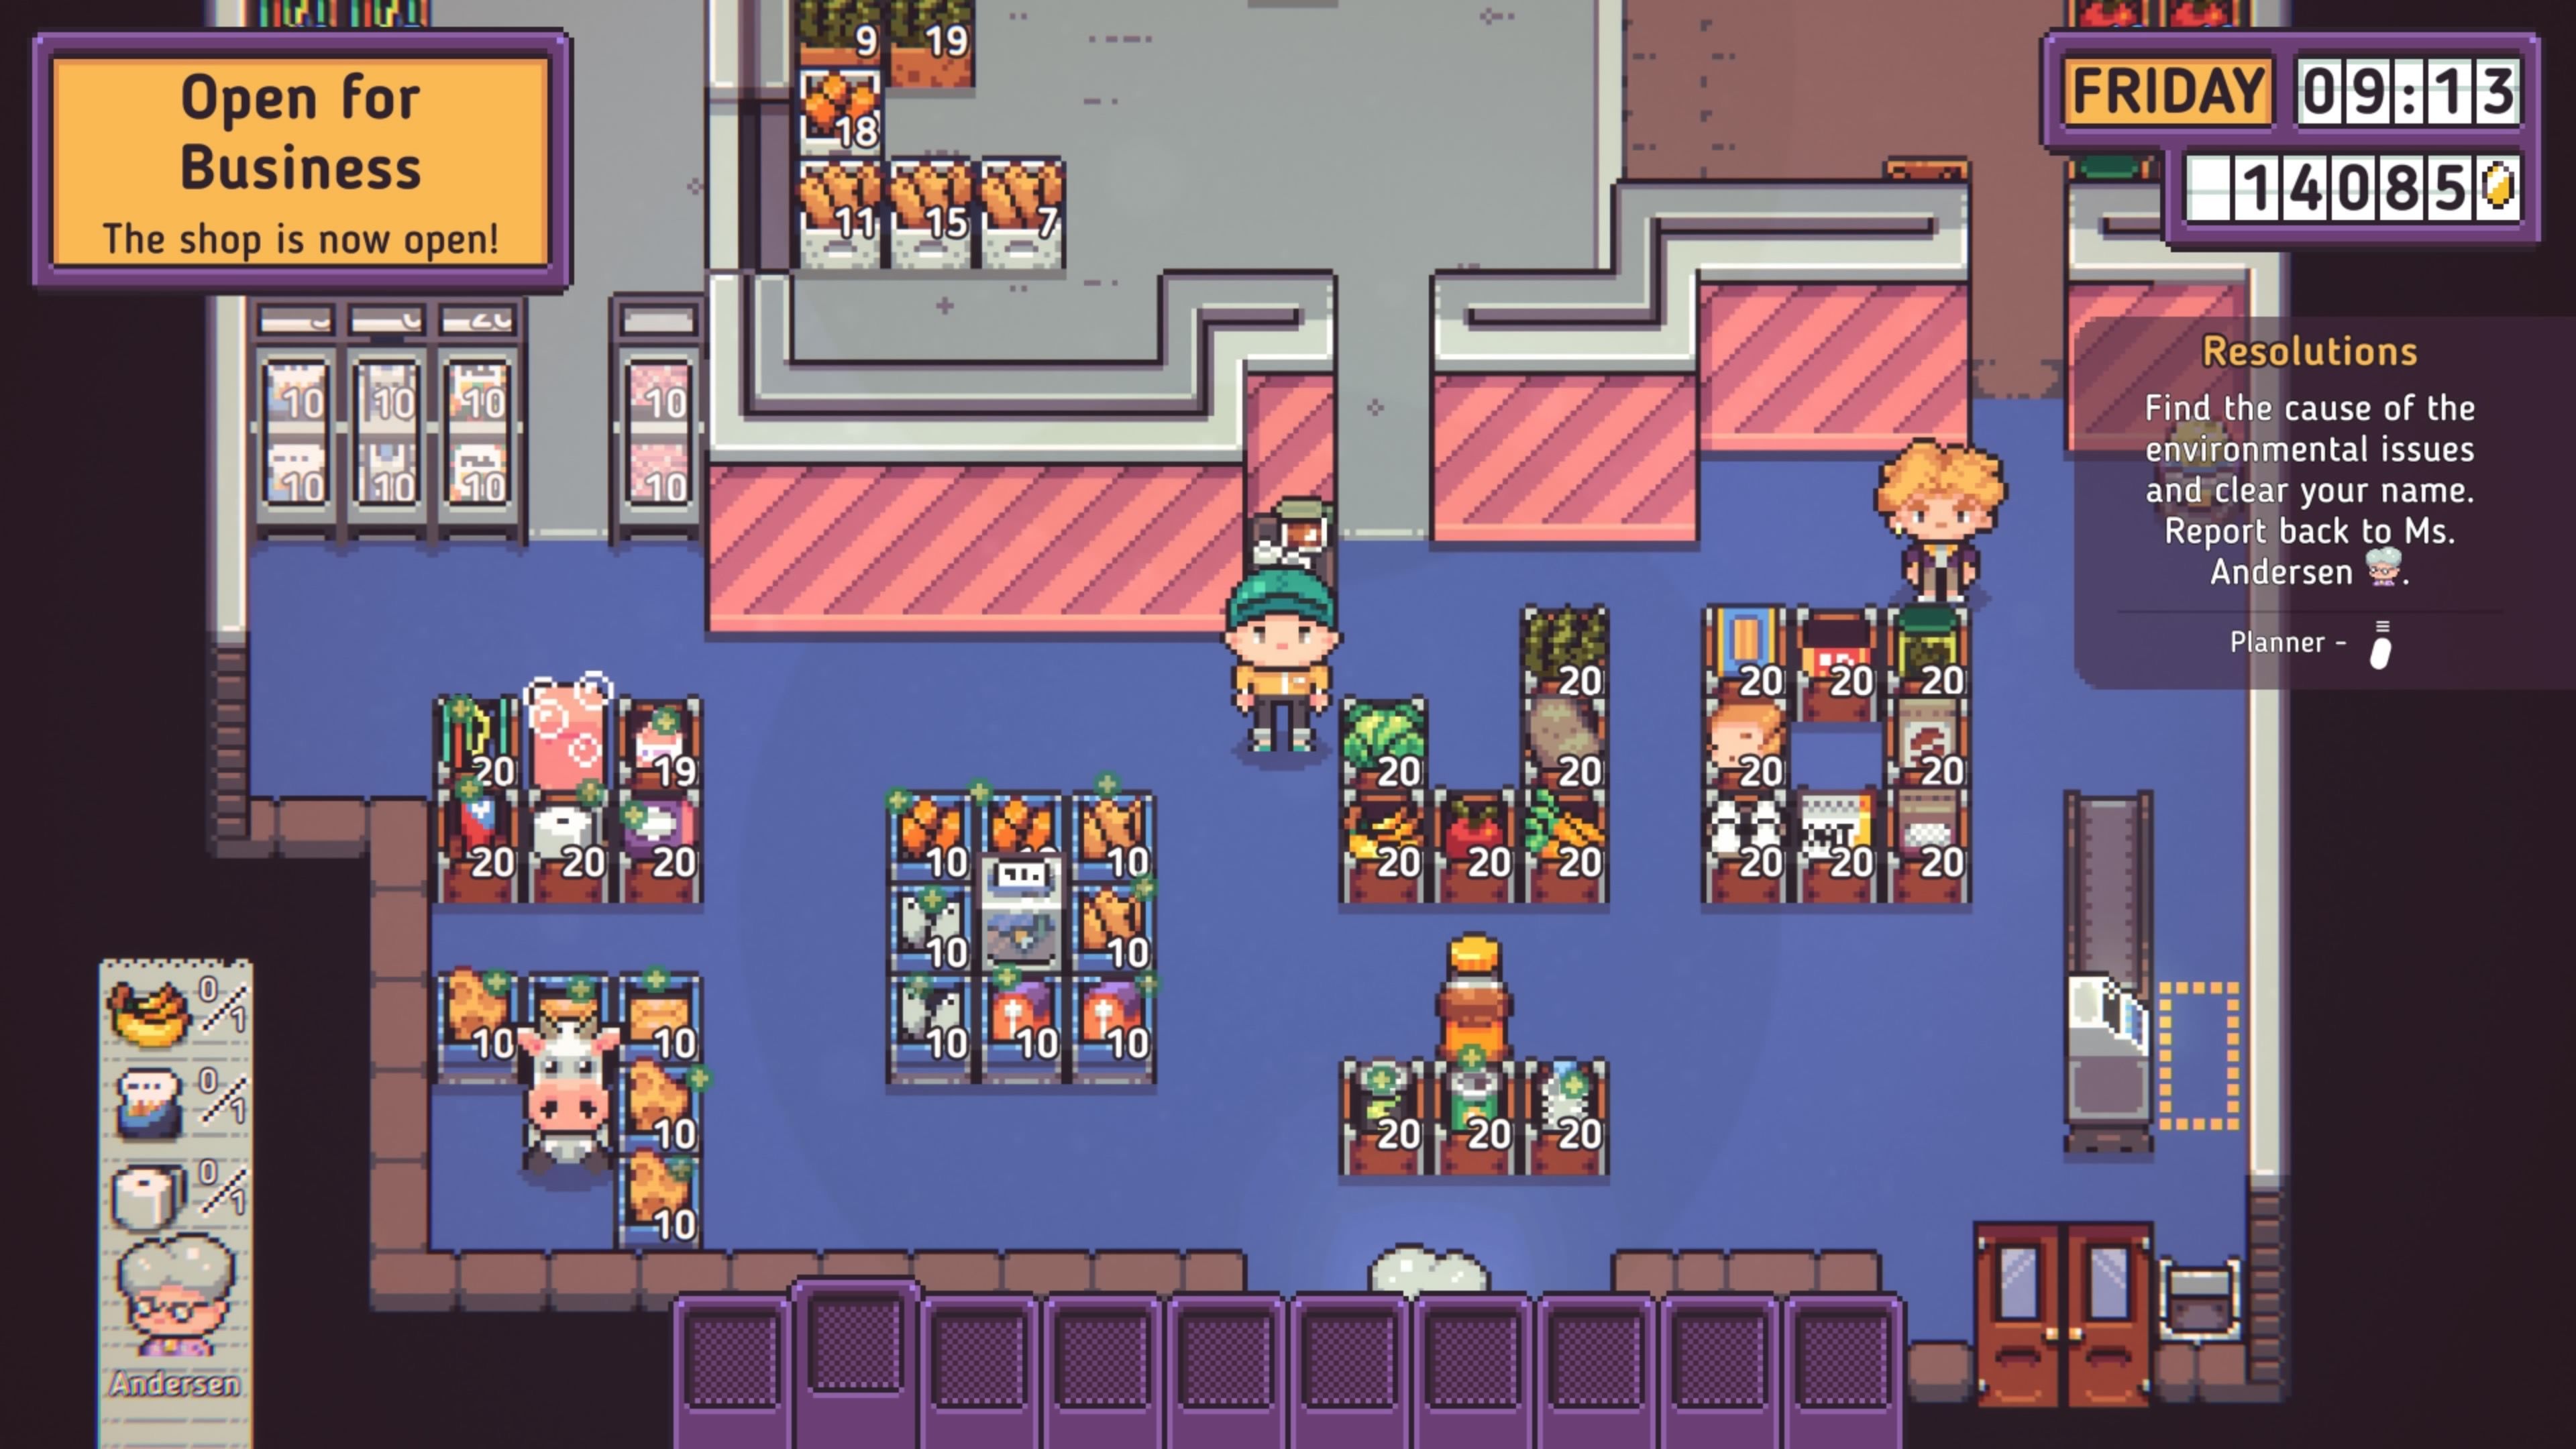
Expansion #1 Layout

Recognize that some items, such as oats, plastic straws, and chocolate bars, tend to sell slower; therefore, these can be stocked on just two shelves to create more room for faster-moving products. With a couple of item boosters in place, strategically position three of these around the store to maximize the sales impact of surrounding products.
I opted for two seafood boosters along with one animal product booster during this chapter, focusing on categories that tend to deliver higher average sales.
Expansion #2 Layout
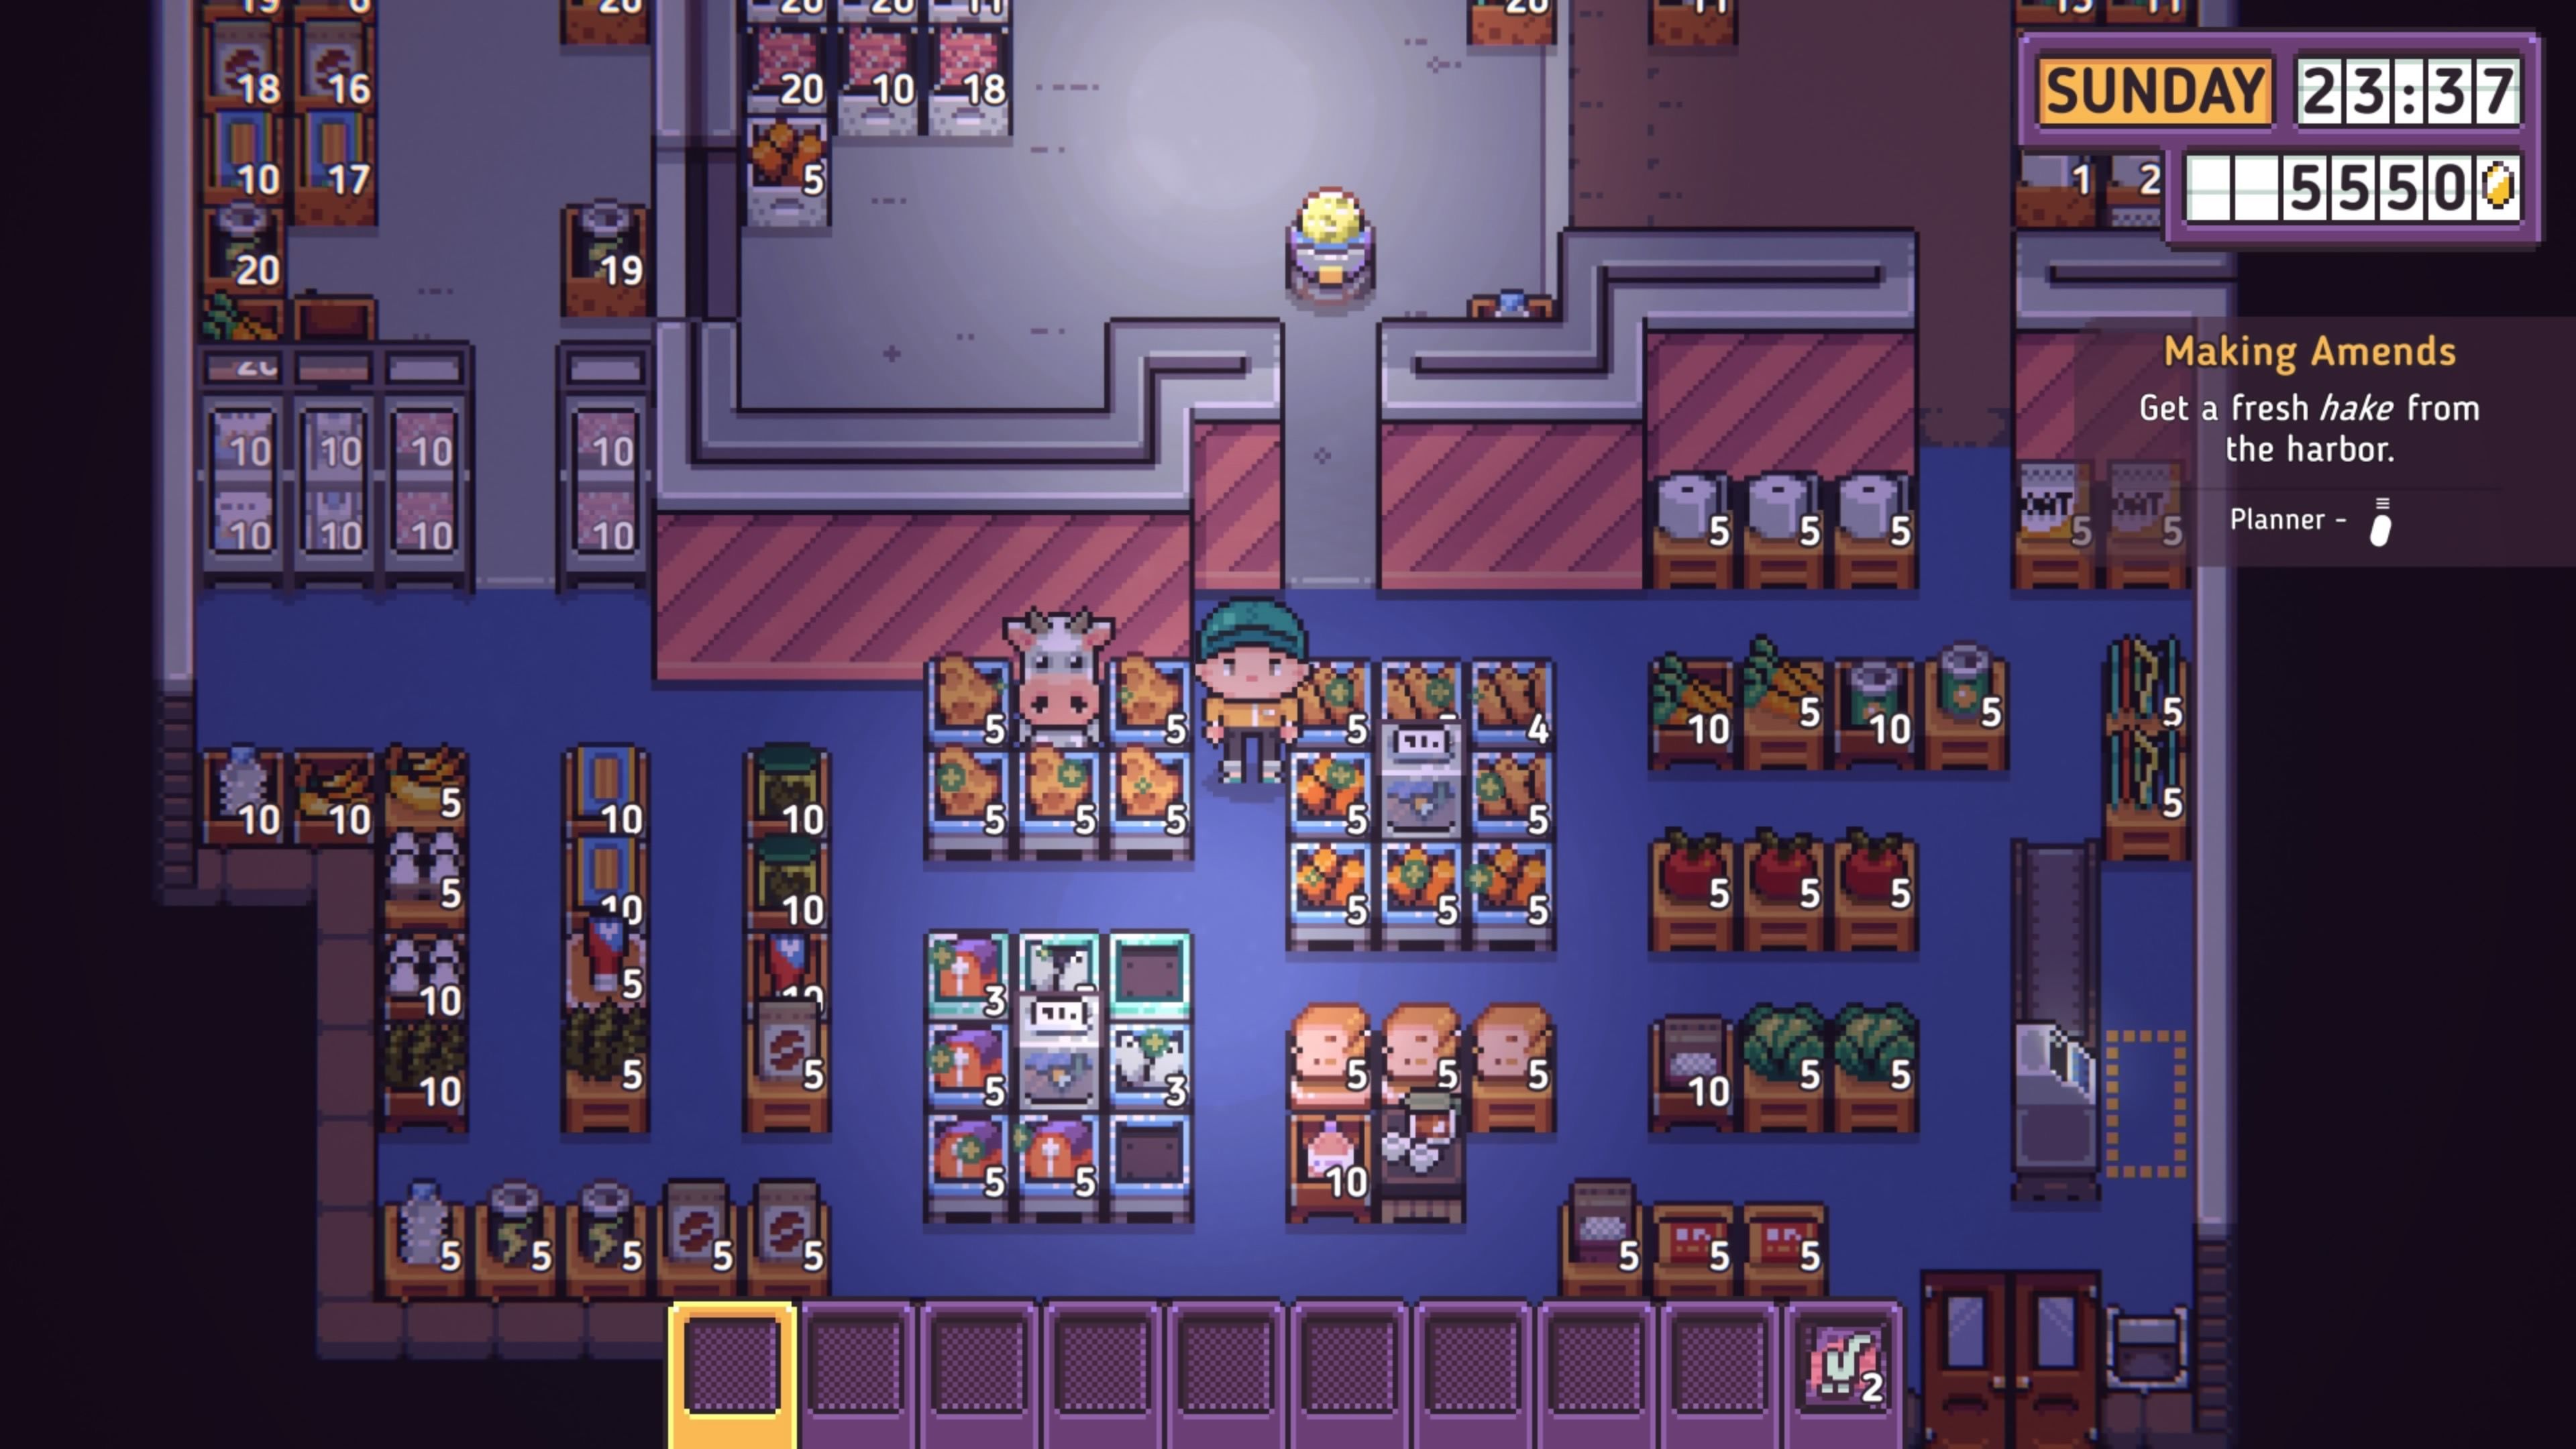
Chapter Three offers a significant opportunity for growth amid challenges like the uprising in Blomkest. Enjoy the increased space in your store, the largest expansion yet. However, this growth requires patience until you can fully upgrade your shelving and cooler options.
Notably, you now have four coolers along the left side of the store, each with a capacity for twenty cold items. Be cautious of cross-contamination—avoid mixing raw items like ground beef with ready-to-eat foods.
Personally, I filled two coolers with ground beef, one with skim milk, and one for fries. As you unlock new cooler items, feel free to experiment with combinations that optimize sales.
At this point, I still utilized three item boosters effectively since I aimed to have three shelves for each product type. This organizational structure has proven successful.
The key takeaway at this stage is to focus on upgrading your coolers and shelves consistently. Regularly check the hardware store for options such as the “bottomless”shelf, which accommodates twenty dry items, and the deep cooler, which helps store ten cold items per unit. Once you’ve upgraded your storage, progress to the next stage.
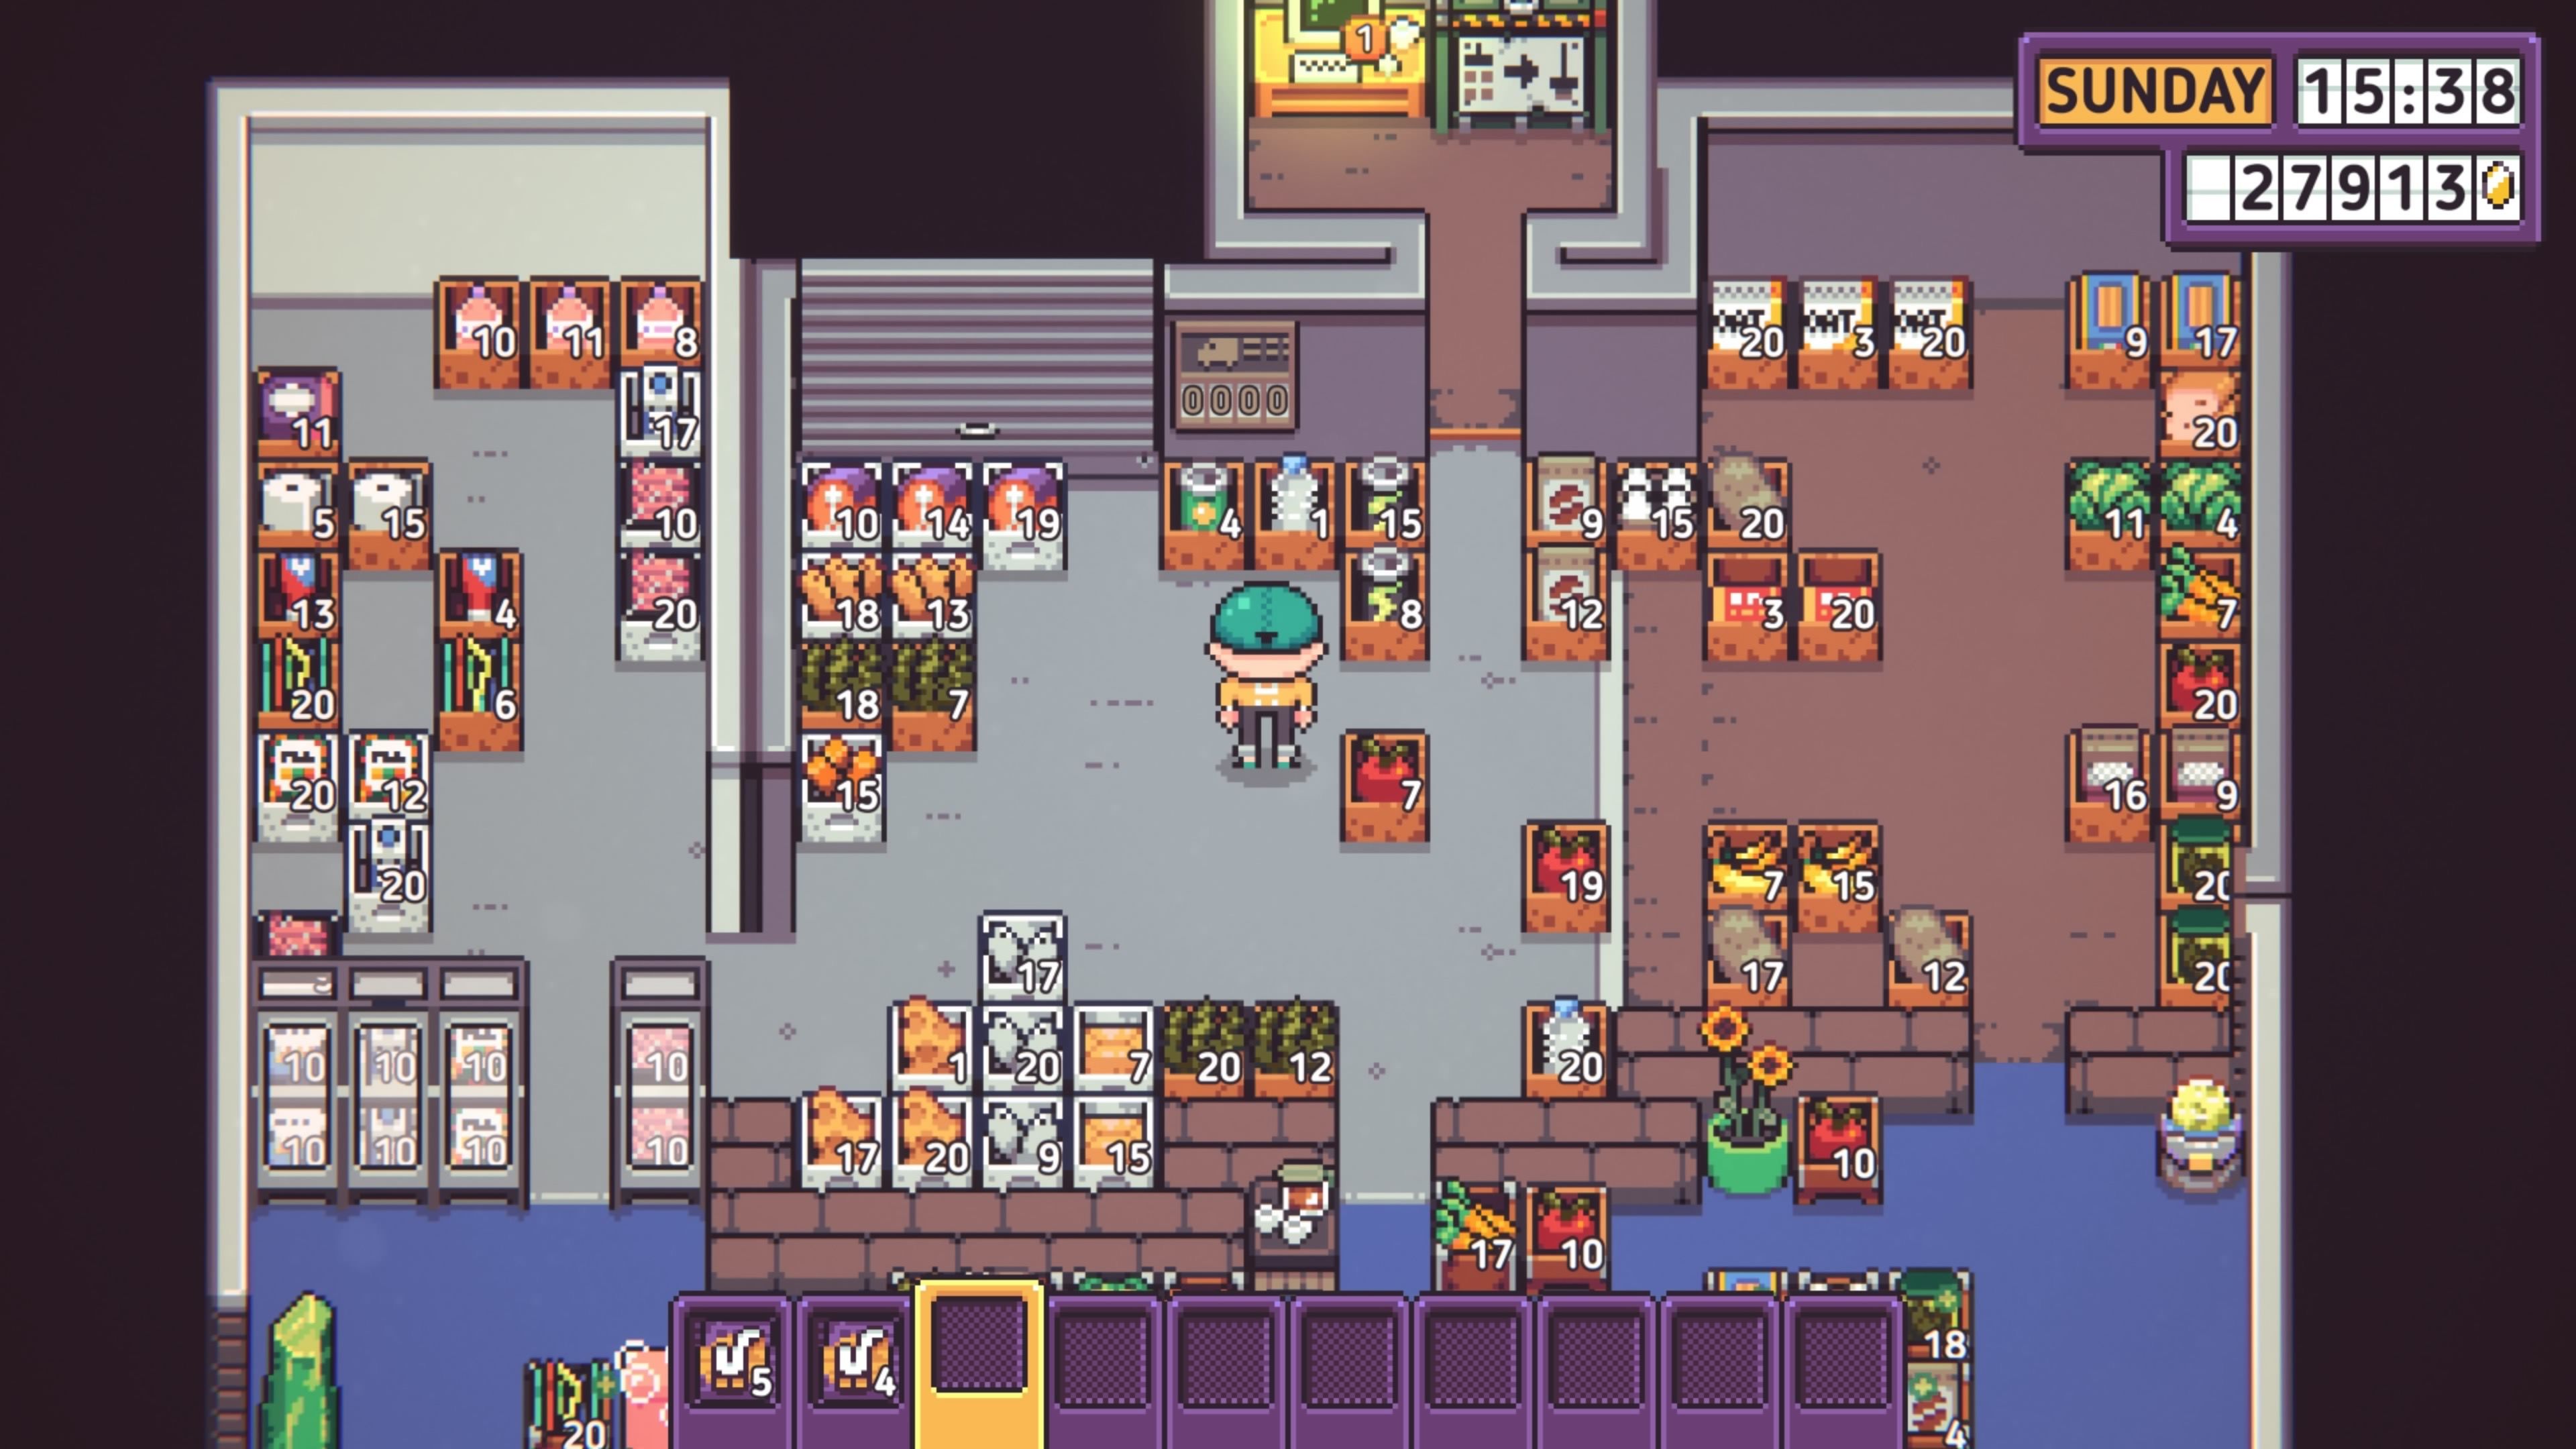
Final Layout
Now your store is poised for success! This layout represents the optimal arrangement for a fully expanded Discounty, even if I was still missing a few item boosters. With bottomless shelves for every dry item, I only needed to reserve one shelf for each product, maximizing floor space significantly.
The strategy lies in acquiring each type of item booster and arranging one bottomless shelf for every product around the corresponding booster. For cold items, I still recommend two coolers per product to maintain an inventory of twenty items at all times.
Think about the shopping experience. Placing fast-selling products like seafood or animal products near the front door can drive impulse purchases, welcoming customers with appealing options as they enter.
The Storeroom
While front-of-house strategies are vital, an effective backroom is equally essential for a thriving grocery store. I generally maintain two crates of each product in storage to ensure prompt restocking, adjusting as necessary to keep up with demand.
To optimize space, consolidate boxes where possible and frequently dispose of empty containers—especially once Chester joins your team, as he may not always choose the most logical box for restocking. His heart is in the right place, though!
To streamline stocking routes, aim to arrange the storeroom in a manner that closely reflects the layout of products on the retail floor. For instance, my setup from left to right is as follows:
- Cooler Items
- Household Items
- Animal Products
- Seafood
- Produce
- Drinks
- Processed Foods
While your layout may vary, establishing a systematic order is crucial. Though organizing requires extra effort, this will save significant time (and possibly costs) in the long run.
Once the customer-facing area is efficiently laid out, replicate this organization in your storeroom. This will expedite stock replenishment for both you and Chester, especially during busy periods.


Leave a Reply