
In the latest episode of Destiny 2, Guardians can once again explore the enigmatic Dreadnaught. This time, however, this once-magnificent ship has fallen into disrepair, now serving as the focal point for a sinister Dread plot. This new chapter promises to unveil a multitude of secrets and formidable challenges for players.
This guide aims to provide an overview of The Nether mechanics, essential tips for various encounters, and hidden secrets within this new environment.
How to Access The Nether

To gain entry into The Nether, you must first complete the main storyline involving Eris and Drifter. Your primary mission is to investigate the Eversion anchors that have emerged in the Solar system.
After successfully finishing the introductory mission, you will have access to The Nether through the Last City destination node on your director.
Episodic Resources Found in The Nether

Sigil Shards
Sigil Shards serve as the primary currency within The Nether. You can collect them in various ways, such as by harvesting resources or looting chests. These shards are crucial for upgrading your Runic Enhancements and for purchasing items from your Tome of Want.

Metastasized Essentia
You’ll encounter bone-white growths known as Metastasized Essentia while patrolling the Dreadnaught. Initially, these resources will show up as “Fleeting Metastasized Essentia, ”meaning that if you do not complete your mission successfully, a portion of your collected resources will be lost.
However, completing a successful run will allow you to retain these resources in your inventory. You can exchange Metastasized Essentia by depositing them in the bowl located in Eris’s Flat. This will reward you with reprised weapons, Essence of Desire, upgrade materials, and reputation rank-ups.
Collecting Metastasized Essentia is highly advisable since they significantly contribute to optimizing your loot gain in this episode.

Tome of Want
The Tome of Want acts as the primary means of acquiring rewards in Episode Herey. Functioning similarly to the previous season’s Tonic Capsule, you can focus on specific loot types by using Scriptures and starting rituals to guarantee certain drops.
Scriptures can be found while looting The Nether, and should you lack any, you can either redeem them or use Sigil Shards to manifest a new Scripture.
Understanding The Nether Modifiers

The Nether incorporates various roguelike elements, adding layers of challenge and reward:
- Health Regeneration is restricted, but you gain significant health and overshields. Defeating enemies may yield Healing Orbs that replenish only a fraction of your health.
- Limited Revives and Increased Pressure. Your fireteam has a limit of ten revives, which can be replenished through rare drops. Periodic pressure events can occur, potentially wiping the team if they are not completed.
- Completing Encounters Grants Boons. Successfully finishing encounters provides temporary buffs to your character. Types of boons include minor, major, and corrupted variants; note that corrupted boons come with additional challenges.
- Famine.Ammo drops are significantly reduced. Thus, players must leverage ability regeneration, ammo finders, and destructible objects throughout the activity.
- Extinguish.Should all revive tokens be expended, you will be sent back to orbit, necessitating a complete restart.
The Nether Variants
Players can either join a fireteam via matchmaking or create a private session for a more contemplative exploration of the Dreadnaught. Completing The Nether in Expert mode rewards players with Adept versions of Episode Herey’s weapons.
Restricted Healing Mechanic

The healing mechanic in The Nether is pivotal. Regardless of your Recovery stat, or if you’re utilizing healing techniques like Devour or a Healing Rift, natural health regeneration is disabled. Even healing bullets from Support Frame auto rifles provide minimal shield restoration.
Restoring health can only be achieved through specific boons and Healing Orbs that appear after defeating enemies or destroying pots. Although these do not restore much health, they are relatively plentiful when focused on eliminating foes.
Opt for builds focused on damage resistance and strategies that enable you to eliminate enemy clusters swiftly. Employing smart positioning and evasion tactics is crucial due to the scarcity of healing options.
Interestingly, certain healing methods still function effectively due to potential oversight by Bungie. The Unrelenting perk, along with weapons like Crimson and Rat King (with Catalyst), as well as Titan’s Knockout Aspect, may completely restore your health without the need for Healing Orbs. Expect corrections in future updates.
Understanding Pressure Encounters

Occasionally, you will notice a notification indicating that “pressure is building”within the Dreadnaught. This is signaled by the Nether Silentium, meaning a pressure event is imminent. These events are critically important, as failure to complete them can result in a team wipe.
Currently, the only recognized pressure event requires players to locate and destroy three Taken blights. Fortunately, these blights are unguarded, which simplifies their destruction.
When such an event triggers, prioritizing the elimination of Taken blights is essential, especially during solo runs. Players can also stave off pressure events by completing encounters rapidly or taking down high-value targets that may appear. You’ll be informed that “Nether Silentium averted. Pressure decreased”upon successfully managing the event.
Exploring The Dreadnaught – Key Encounters

The structure of The Nether, while reminiscent of past locations such as Deep Dive, The Coil, or Savathun’s Spire, introduces a non-linear format where players explore three out of four random regions.
Upon completing your objective in a region, you will need to shoot a small Taken blight to wrap up the encounter. Once destroyed, dialogue stating “You’ve dealt a blow to the Dreadnaught”confirms your progress, allowing players to earn various boons.
Overview of Basic Encounters
Here’s a brief glance at the encounters you might engage in while exploring the Dreadnaught:
- Defend/Capture the Objective: Stall on a designated plate while fending off waves of enemies. Efficient add clearing is crucial.
- Pyramid Switches: To deactivate the force field shielding the Taken Blight, activate four Resonant nodes while contending with a guarding yellow bar Weaver.
- Darkness Pickups: Collect Darkness shards while dodging Grims and defeating a Tormentor. Gather enough to spawn the Blight.
- Hive Relics: Similar to the introduction in the King’s Fall raid, retrieve Hive magic balls and deposit them into designated statues.
- Taken Wizard Trio: Easily defeated, these wizards don’t retaliate, allowing you to earn three minor boons upon their defeat.
- Darkness Splinters: Destroy Darkness splinters while enemies attempt to thwart your progress; breaking enough will spawn a Subjugator that must be defeated.
- Subjugator/Omen Duo: Take down a pair of Subjugators, only one of which is vulnerable at a time, while also managing enemy spawns.
- Orange Spore Destruction: Seek and destroy orange sacs while combating incoming Taken foes.
- Solar Crystal: Carry a solar crystal to a designated spot, while fending off enemy attacks.
Boss Encounters
Each boss features health gates that must be navigated through distinct mechanics. Conquering a boss yields major and corrupted boons, completing the run if it’s your third target.
- Hall of Souls: This Subjugator in the Court of Oryx uses Strand abilities and projectiles. Its health thresholds will spawn Husks that can heal it, so eliminate these quickly.
- Mausoleum: Found in the bottom pit, this Taken Ogre has a pronounced crit box. Once health gated, players must destroy pulsating Taken pustules while fighting off adds.
- Trenchway: The toughest boss in The Nether, this Tormentor requires targeting its glowing weak spots while managing swarms of adds.
- The Founts: Encountered in the middle area, this Taken Chimera delivers powerful void blasts. To access its vulnerable state, destroy six Taken nodes surrounding it.
Exploring The Dreadnaught – Hidden Secrets
The Dreadnaught has always been known for its plethora of secrets, and The Nether follows suit, offering rich rewards for those who venture near its hidden corners.
Completing secret challenges will not only reveal chests and boons but also contribute to your triumph score.
As you explore, keep an eye out for the Ghost icon appearing in the top right corner of your screen, indicating nearby secrets.
- Toland: This floating orb can be found in numerous regions. If you follow it, it will eventually lead you to a secret chest.
- Hidden Platforms: Experienced players will know about the invisible platforms best revealed by scanning the environment with your Ghost.
- The Ravenous: In the Hall of Souls, track a Cursed Thrall as it evolves through stages, leading to a chest upon its defeat.
- Flaming Plate Minibosses: Investigating three specific plates will spawn a miniboss to fight.
- Dark Transfer: Destroy the Shrieker in the Mausoleum to access a portal leading to additional chests.
- Taken Orb Phalanxes: Defeat these to unlock a treasure chest hidden nearby, located in the Mausoleum.
- Blighted Cyst: Continuously shooting this floating Taken Blight will spawn a miniboss, dropping minor boons upon defeat.
- Wall Symbols: At the Founts, shooting matching symbols in the correct sequence will unlock a secret chest.
- Rites of the Deep Tithe: Currently time-gated. Details on its function are forthcoming.
These aren’t the only secrets to be found in The Nether.Pay close attention to Ravenous Wormspawn, as collecting eight of these can unlock a triumph award. Each can only be collected once, so be thorough in your exploration!
Recommended Boons and Builds for The Nether
While I won’t delve into specific builds as they vary based on play style, I will share general tips to focus on while crafting your character.
Opt for a build that emphasizes add-clearing capabilities and prioritizes precision damage, as many of the bosses and foes can be dispatched effectively using machine guns and linear fusion rifles.
Always remember to invest in resilience in conjunction with the primary ability-related stats of your class. The major boon “Classical Healing” provides health restoration upon class ability activation, helping you maintain your survivability.
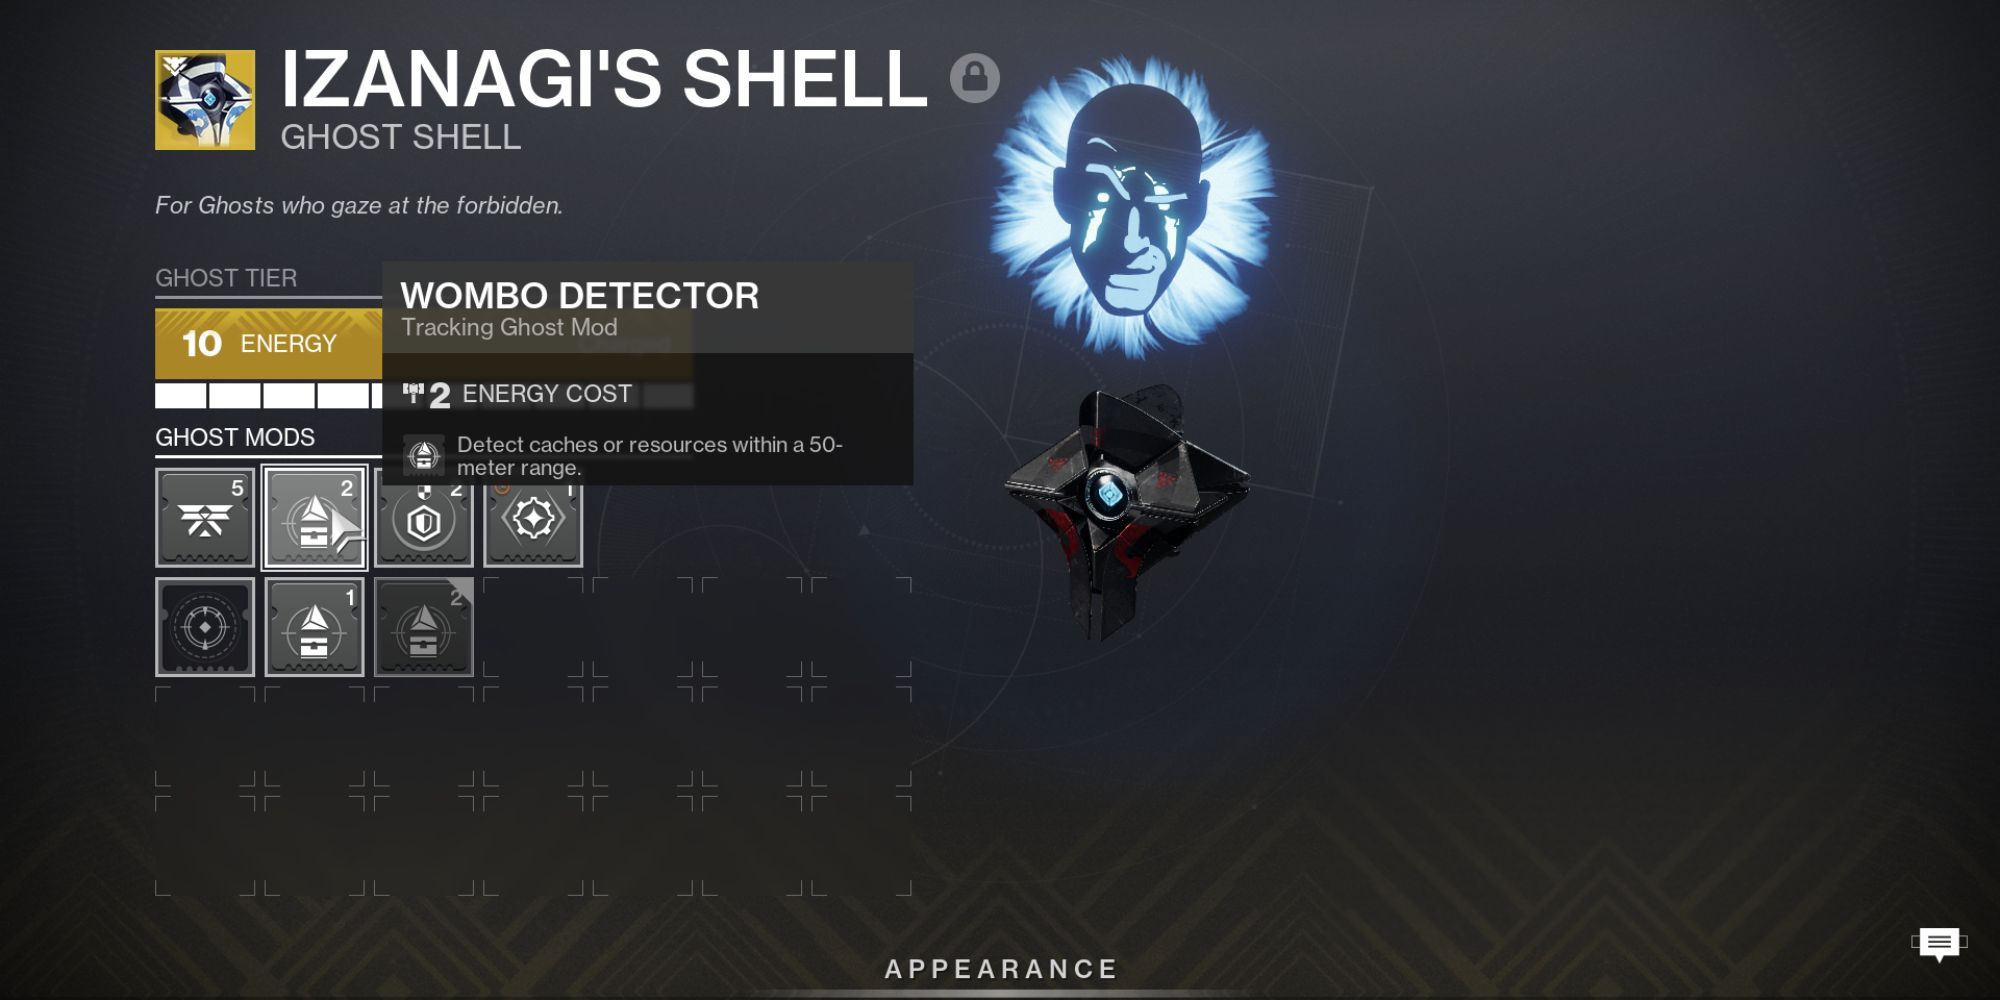
Ensure your Ghost is equipped with “Wombo Detector, ” which allows detection of hidden chests and resources within a 50-meter radius, greatly enhancing your looting efficiency.


Leave a Reply