
The Kingdom Come Deliverance 2 Review draws intriguing parallels to the much-loved fantasy RPG series, The Elder Scrolls. This comparison holds weight, as both utilize a first-person RPG format and feature expansive open-world environments crafted for exploration. Despite these similarities, Kingdom Come Deliverance (KCD) sets itself apart by offering a grounded historical experience, devoid of fantastical elements typically found in other RPGs—no sorcery, no dragons—at least, that’s the initial impression.
However, players will encounter a captivating quest where Henry is tasked by the church to uncover rumored dragon bones located near Bylany. This might initially sound like mere folklore, yet it could lead to thrilling revelations hidden in a dragon’s lair. If you’re eager to embark on this adventure, I’ll guide you step by step through this remarkable quest.
How to Begin the Dragon’s Lair Quest

To kick off this quest, head to the local innkeeper in Bylany. He will share tales of rumors swirling around town, suggesting the existence of a dragon’s lair nearby.
With this lead in hand, approach Slava in the local area. He will agree to provide further details on the bones, provided you complete a small favor: delivering a message to The Abbot at the church.
After agreeing to assist Slava, make your way to the church located near Kuttenburg to relay the vital information about the dragon bones.
Engaging with The Abbot

Upon reaching the church, you’ll find two clergymen embroiled in a debate. This is your cue to inform them about the dragon bones discovered in Bylany, which ignites a fresh argument between them.
The Abbot is eager to dismiss this rumor quickly while Gerhard, on the other hand, sees potential in leveraging the bones for personal gain—most likely to curry favor with King Sigismund. The Abbot, however, insists you adhere to the church’s directives.
Return to Slava
After completing your task at the church, return to Bylany to consult with Slava again. At this point, you’re free to share whatever details you choose, and he will inform you that the local Woodcutter possesses knowledge about the bones’ location.
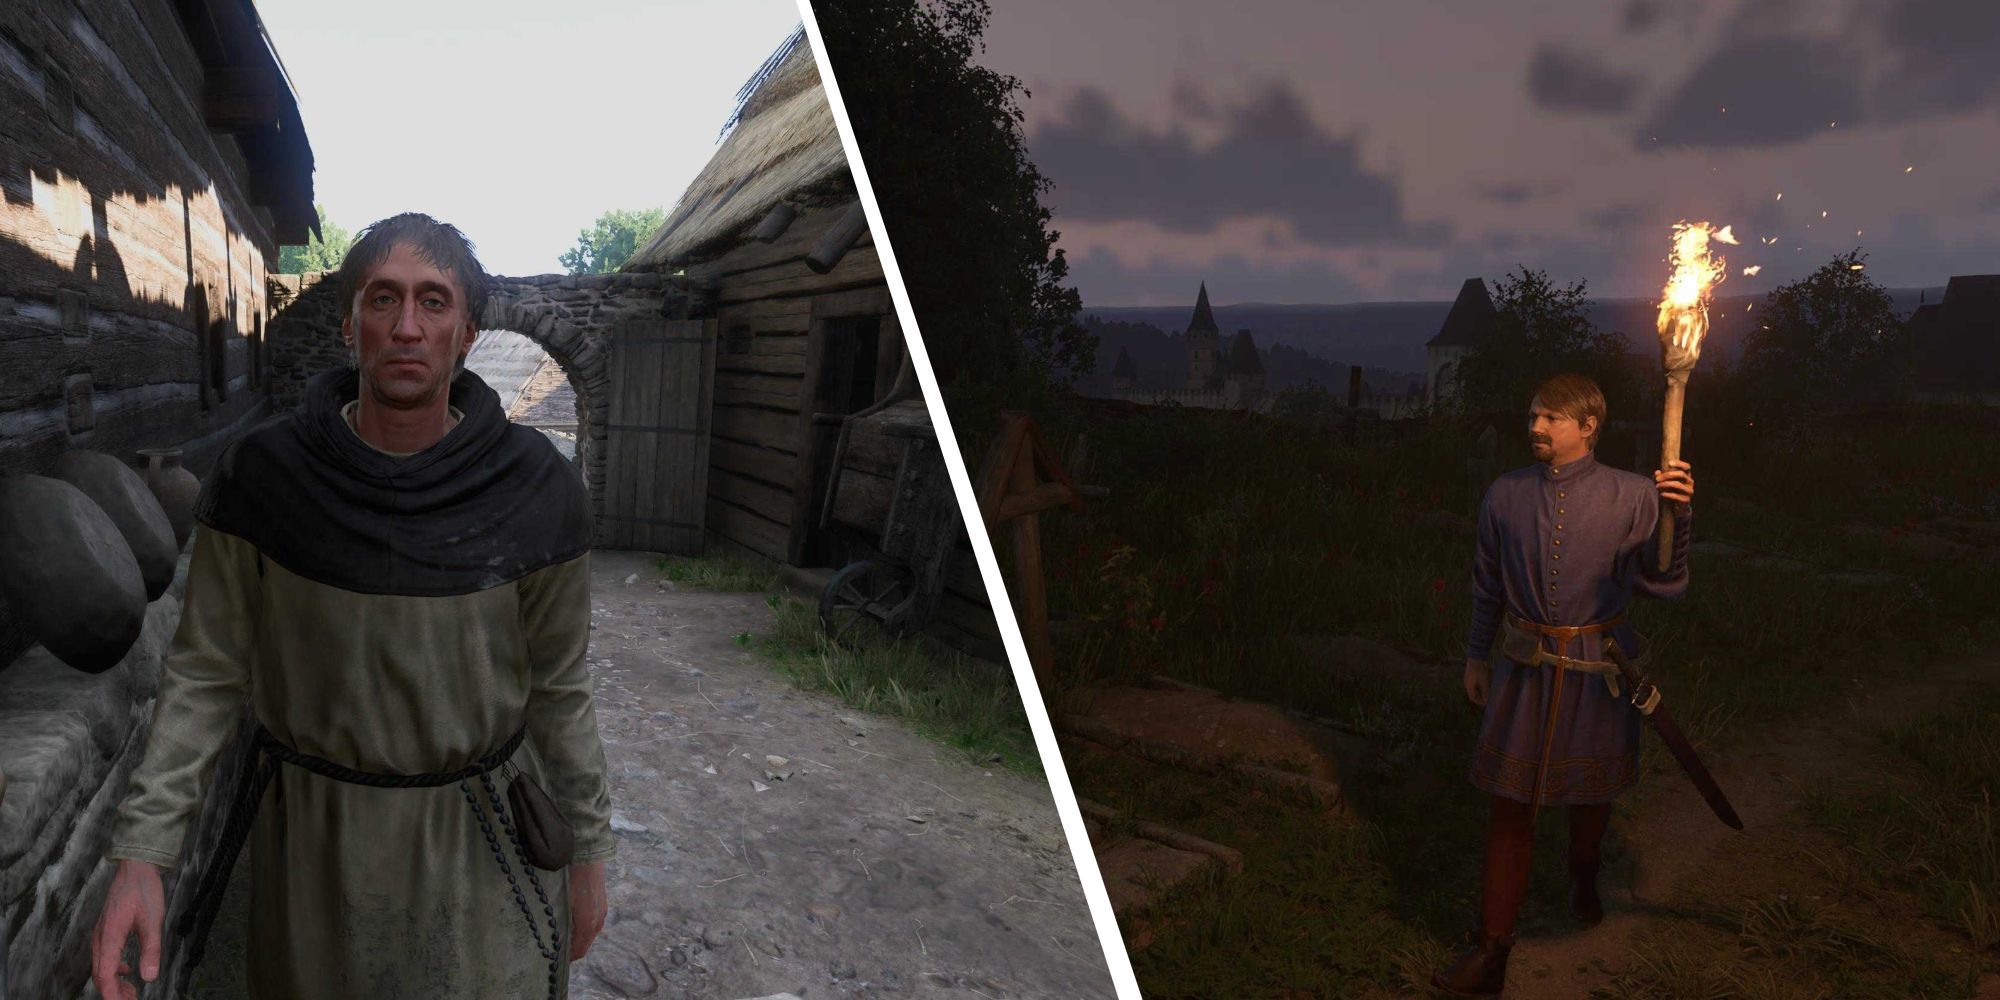
Before you set off in search of the Woodcutter, you may encounter a man named Leopold and his associates, who seem to be hunting for information on the dragon bones, with the monk as their likely target.
You may attempt to convince them to leave through skill checks, but these may not always succeed, leading to a typical brawl with their henchmen. Engage with powerful combos to dispatch them; it’s a relatively standard encounter. If you prefer to avoid the confrontation, a show of your sword will cause them to back down immediately.
Consulting Vashek
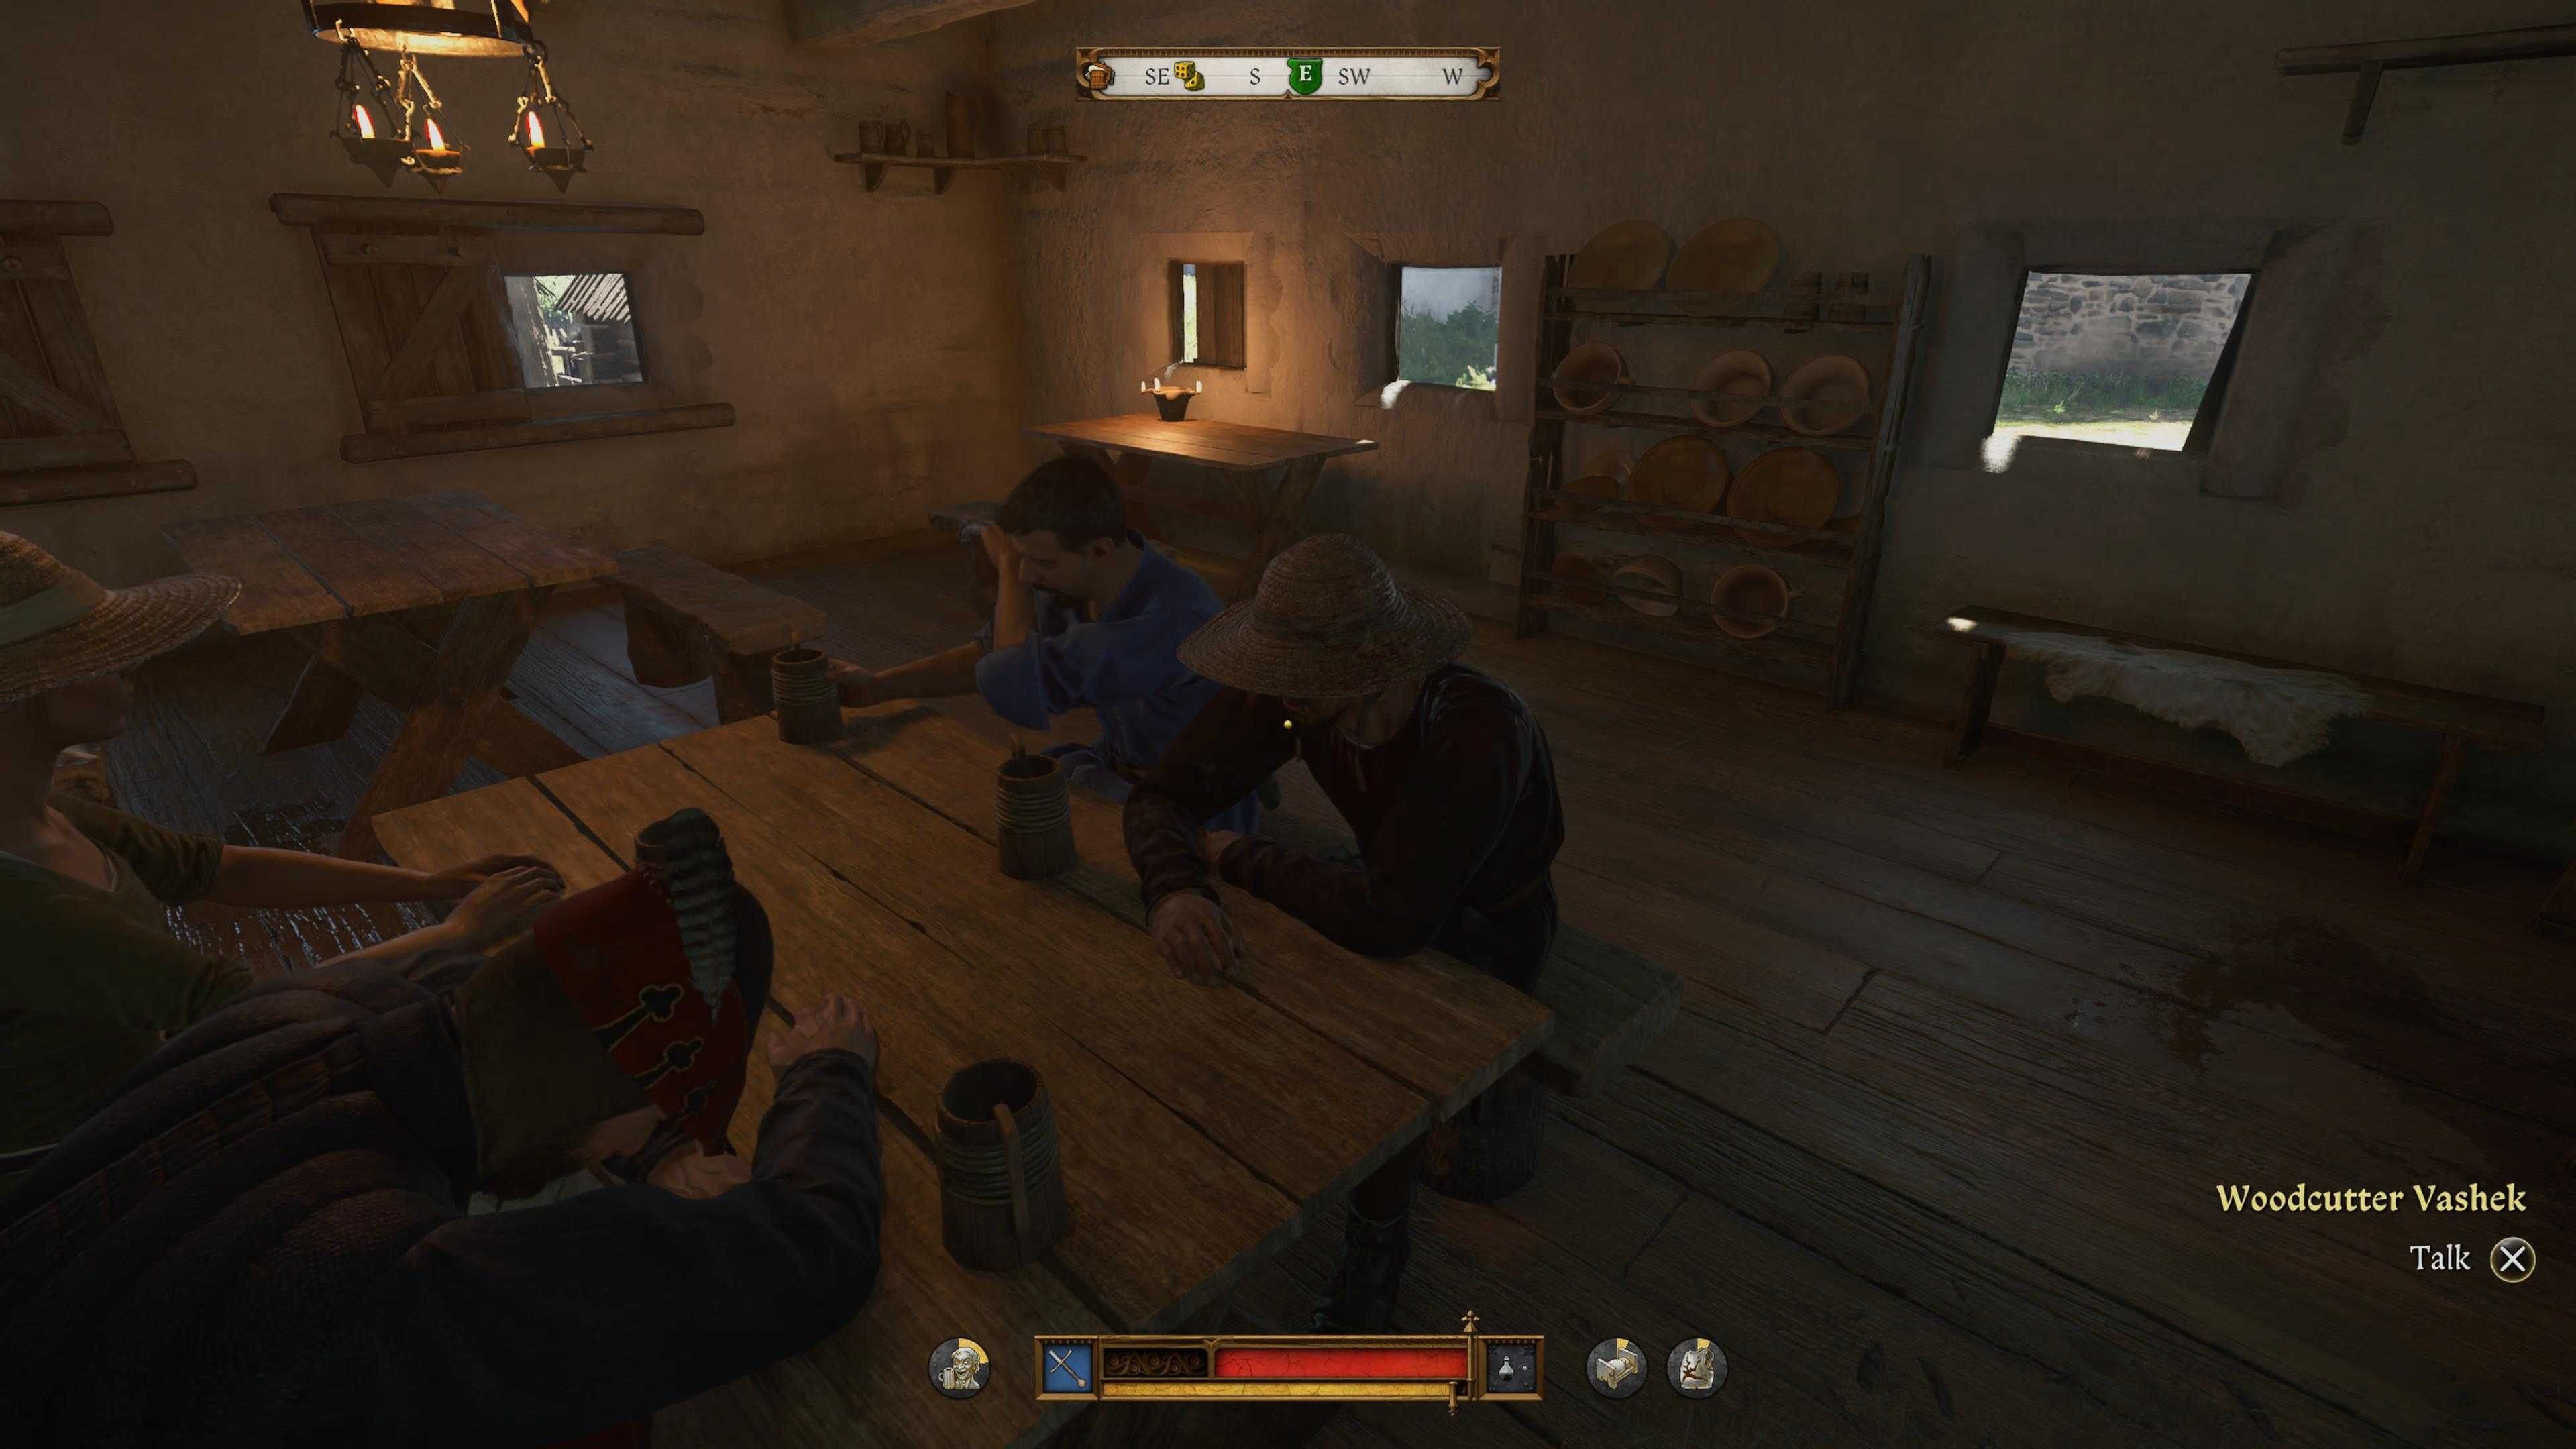
Your next step involves tracking down the Woodcutter in the tavern, where he appears to be in rough shape—indicative of Leopold’s earlier visit for information.
Engage him in conversation for information; with a relatively simple skill check, you can extract the needed directions. If necessary, the alternative involves paying him 200 Gloschen for the details.
If successful, he will share the pathway to the site where the dragon bones rest, directing you to the Woodcutter’s hut then towards Mesoles. Note that speaking to Vashek triggers an in-game timer.
Uncovering the Dragon Bones
Post-discussion with Vashek, head to the Woodcutter’s hut outside of town to commence your search. His vague directions follow:
I walked along the trail from the woodcutter’s camp towards Rabstein. Then, I veered into the stream, heading upstream until I reached a large boulder, and then proceeded towards Mesoles. Near the boulder, there lies a clearing with a tree stump and mushrooms. Continuing towards Mesoles, I moved uphill along the rocks, where I discovered the bones in this open space.
If you opt to follow this prescribed path, Henry will comment on various notable landmarks, ensuring you remain oriented. Alternatively, if you’re not interested in a scavenger hunt, you can proceed directly to the marked area on the map, as doing so incurs no penalties and you won’t miss vital elements of the quest.
Upon arrival at the designated spot, provided you’ve acted promptly, you’ll encounter a clearing where Henry can begin excavating. Yet, the task won’t be straightforward, as this action will trigger a cinematic sequence.
Leopold and his thugs will suddenly appear, followed closely by Gerhard’s representatives—who seem to be playing both sides. What follows is a tense exchange, regardless of your attempts to deescalate.
When hostilities commence, focus on eliminating weaker foes using Master Strikes to reduce their numbers, especially if you intend to continue fighting shortly after.
As the fray unfolds, Leopold will propose that each side share the bones equally—a reasonable cessation if you’re not in a strong position. However, this decision may come at the cost of a lesser reward after the quest concludes. If you aim to claim all the bones for yourself, it’s best to re-engage the enemy in combat.
Combat for the Bones
The ensuing skirmish can be challenging, particularly if you did not take out any adversaries during the initial conflict. The goal here is to eliminate Leopold and his henchmen swiftly, allowing you to concentrate on the better-equipped mercenaries afterward.
Maintaining strategic positioning and ensuring all enemies stay within view is crucial. Utilize Mutt’s ‘Sic ‘Em’ command in conjunction with well-timed Master Strikes to emerge victorious.
Once the dust settles, loot your fallen foes for Gloschen, and feel free to pilfer Leopold’s unflattering spectacles. Now, you face a pivotal decision:
If you’re finding this encounter particularly difficult, I advise consuming Painkiller Brew before the cutscene begins. This will provide a buffer against being overwhelmed during the chaos of battle.
Conclusion: Rewards from Dragon’s Lair—Slava or Gerhard
The conclusion of the quest can unfold in two distinct ways, with one path clearly offering a favorable reward.
Your first option is to return to Slava in Bylany, handing over the dragon bones for prompt disposal. However, while this garners positive reputation, there is no financial compensation.
Alternatively, if you opt to meet with Gerhard just outside Kuttenburg, you’ll earn a monetary reward of 275 Gloschen for your efforts. This choice hinges on your moral stance regarding the potential impact on King Sigismund’s endeavors versus the church’s principles. Even though the cash may not be substantial, anything is better than receiving nothing at all.
If you decide to share the bones during the confrontation, be prepared for a skill check which will determine if you convince Slava or Gerhard that you possess the entirety of the bones. Failure to do this will result in reputation loss or a diminished reward of 175 Gloschen, depending on whom you side with.


Leave a Reply