
In the expansive realm of Hollow Knight: Silksong, darkness looms heavily. Players will encounter desolate caverns swarmed with monstrous creatures and relentless furnaces that radiate heat through the shadows.
However, no locale feels quite as forbidding as the arid deserts at the world’s edge, filled with the dust and decay of ravenous foes. Welcome to the Sands of Karak—a harsh environment that could spell doom for the ill-prepared. This area stands as an extreme test of your acquired skills.
Enough of the ominous tone; let’s face it—navigating this zone is quite challenging. Engage all the skills you’ve honed thus far, gear up, and let your quest commence!
Navigating to the Sands

To access the Sands of Karak, you’ll need to acquire the Clawline ability located in The Cauldron within the Underworks. While your instinct may urge you to rush there, it’s advisable to first obtain the Faydown Cloak from Mount Fay, enabling you to double jump. This enhancement is invaluable for traversing the tricky landscapes of the game.
After securing the Faydown Cloak, return to the Pinstress’ house you previously discovered in the Blasted Steps. There, you will find a Clawline ring to the left of the suspended blue house that allows you to ascend higher. Navigate through the subsequent chambers while dodging the wall-dwelling spiders, and soon enough, you’ll reach The Sands of Karak.
While exploring this area is not mandatory, you’ll definitely want to collect some key items, including crucial objectives for the Taste of Pharlom Quest.
Introducing a Game Mechanic

Upon entering the Sands, the first feature you’ll notice is the presence of golden orbs scattered across the sand. Striking these orbs creates temporary vines that stretch across the terrain, forming platforms for your traversal.
Be cautious, however; not all platforms are stable—some spiky orbs require a bounce rather than direct interaction.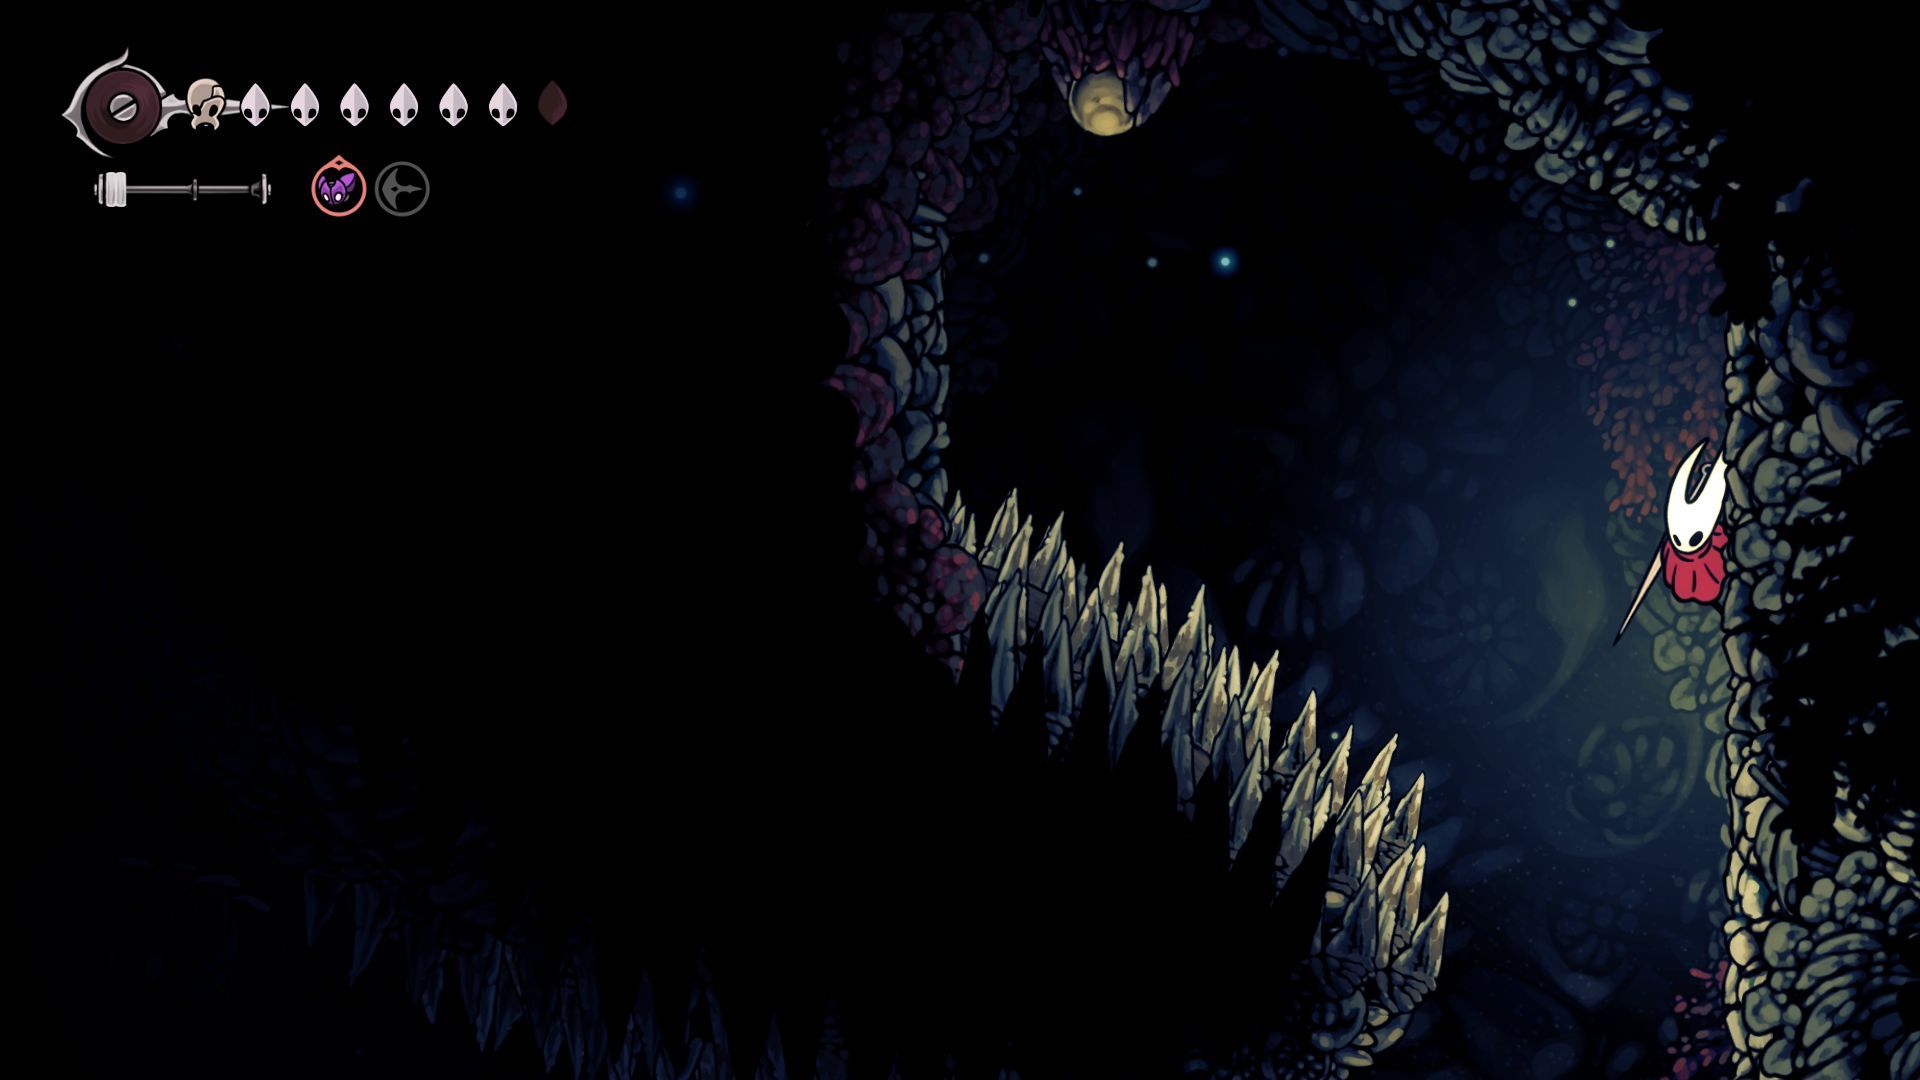
Progress eastward by bouncing off the coral spines and crossing the newly formed vines. As you continue, you’ll encounter an entrance flanked by spikes.Utilize Clawline movement to discover another orb, which leads to an exit leading upward. Keep moving right until you arrive at the main vertical chamber of the area.
At the top of this vertical shaft is a large stalactite that, when struck, connects this area to the Blasted Steps. In the cave situated to the left, don’t forget to visit the Map Merchant before pressing on.
Discovering a Welcome Resting Spot
Continue eastward through another section populated with more vine puzzles similar to before. Bounce off the spiky coral and wall-jump until you ascend to the next room.
Utilize Cogflies to distract any flying enemies you encounter along these platforming segments.
Eventually, you’ll arrive at another vertical shaft, but keep moving right; you’ll return here shortly. In the adjacent room, you will find a lift leading back to the Blasted Steps, conveniently located just before the Last Judge encounter.
Activate this shortcut and then head back to the lift. Go right once more, through a lengthy hallway, ignoring any enemies that spawn. You’ll soon discover a bench for a much-needed respite, along with a Simple Key!
Mastering Vine Platforming
Are you ready for some rapid platforming? It’s time to show off your skills.
Return to the vertical shaft near the elevator and float down. Eliminate any foes in your path or let your Cogflies handle them while you prepare to ascend again.
Time is of the essence here, so be quick. Bounce off the spike coral and utilize wall jumps to ascend along the platforms sprouting from the vine, following it until you’ve reached the top of the shaft before shifting left into the next chamber.
Trigger the orb and leap forward while it’s still growing.Anticipating vine growth ensures you maximize your time allowance. Jump to the long vertical wall, dash right, and activate the next orb while swiftly returning to the wall. If equipped with the Ascendant’s Grip, you’ll find this section much easier.

Wait for the next vine as the wall crumbles, guiding you to another cave entrance. Here, drop down and utilize Clawline for the spiky coral. An orb hovering above will initiate another vine platform, so strike it quickly while you still have time. Continue left, using Clawline as your primary tool—don’t hesitate to use it generously. You’ll finally reach the apex of the main vertical column.
The Quest for the Crustnut

Before proceeding further, take a moment to descend the vertical column and choose the left path through a breakable wall. Consult your map to locate the opening.
This next segment features tight tunnels rich with breakable spike coral that you’ll need to dismantle as you progress. During this section, you’ll often find yourself clinging to walls, leaping, and using your needle to clear obstacles. I opted for the Crest of the Wanderer here, which was not the best decision. A crest that provides a long weapon reach is the way to go—avoid my mistake!

Keep progressing west, using Clawline to navigate the narrow corridors filled with spikes until you eventually arrive in a small chamber housing the Crustnut. This item is one of the five main components needed for the Taste of Pharloom Quest.
Ascending the Coral Tower
Engaging the Conchfly

Return to the top of the vertical chamber, then journey left. Fortunately, you won’t face anymore vine platforming for a while, so sprint across the lengthy pathways until you enter the boss chamber. Remember the Great Conchfly from earlier? It harbors a grudge!
The mechanics here are similar, only with heightened speed. You won’t have much time to land hits, so concentrate on dodging its attacks and deciphering its patterns.
If you’re not fond of retracing your steps through the vine puzzles, resting at the bench near the Blasted Steps Bell Beast, then ascending through the vertical chamber might prove more manageable.
This Conchfly will hurl coral spikes your way and summon smaller conchflies that dart through the arena. Mastering the evasion is key—this encounter is as much about finesse as it is about aggression. As you engage, remember that the Conchflies are typically seen with a mate, adding an emotional layer to their ferocity—this one rightly has a vendetta against you.
The Great Red Tower Awaits

Proceed past the fallen boss into a lengthy platform leading to the Coral Tower. Among the remnants of long-gone warriors, you will discover the Conchcutter tool.

Venture rightward, and you’ll come across a bench to recharge and experiment with your new tool. Like the projectiles fired by the Conchflies, the Conchcutter launches and ricochets off surfaces to seek out targets. While beneficial, aiming isn’t a prerequisite for its effectiveness, though I personally favor using Cogflies instead.
Exploring the Voltnest
Navigating Towards Your Destination
After reviewing your map, it may seem like you’ve exhausted your exploration. However, one more area awaits! Ascend to the top of the main vertical section and move upward once more. A hidden area resides at the top right corner of the column, which you will need to reach through Clawline and wall jumps. The environment will shift to a pink hue as you enter The Voltnest.
This zone boasts electrically charged walls that deal damage with every touch, exacting two masks’ worth of health. Additionally, large streams of electricity will surge across the pathways, necessitating precise timing of your jumps to avoid contact.
Advance past these charges until you arrive at a steep drop with several electricity beams.Jump and dash through this section; floating too much risks slowing your descent and resulting in damage.
Confronting the Voltvrym

Prepare for the mini-boss fight ahead—the Voltvrym is relatively straightforward. Focus on dodging its attacks and finding safe spots as it lurks on the ceiling, requiring you to jump to strike it.
|
Attack Name |
Description |
How To Avoid |
|---|---|---|
|
Electricity Columns |
The Voltvrym summons slow-moving electricity pillars across the arena. There’s also a faster variant. |
Stay central, wait for the second batch of pillars, then dash to the side as they approach. |
|
Surging Orbs |
Bright dots will illuminate the arena, culminating in bursts of electricity. |
Stand still in a safe area and remain there until the attack subsides. |
In truth, facing this boss is more about the journey to it than the actual encounter.
Upon defeating the Voltvrym, you will earn the Volt Filament—an exciting blue tool enhancing your Silk Skills. This new item enables remarkably dynamic interactions; for instance, when paired with Sharpdart, not only will it inflict damage, but it will also impose an electrical charge for even greater impact! Not to mention, it delivers a visually appealing effect!

To exit the Voltnest, proceed right and follow the looping pathway to complete your journey through the Sands of Karak!


Leave a Reply